Took my camera to L.A.’s garment district today:

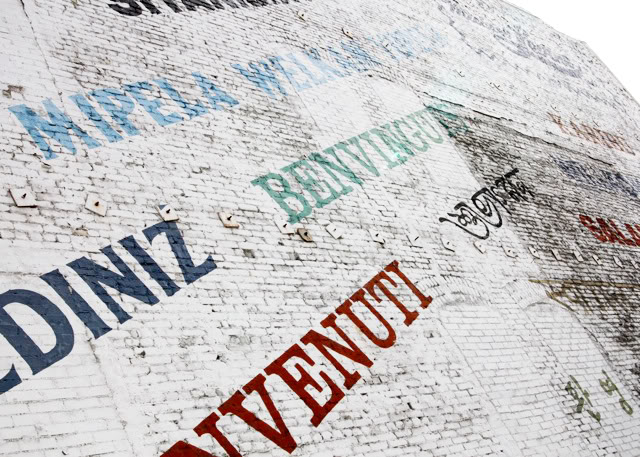
Welcome:
As always there are so many little nooks to explore it becomes overwhelming:

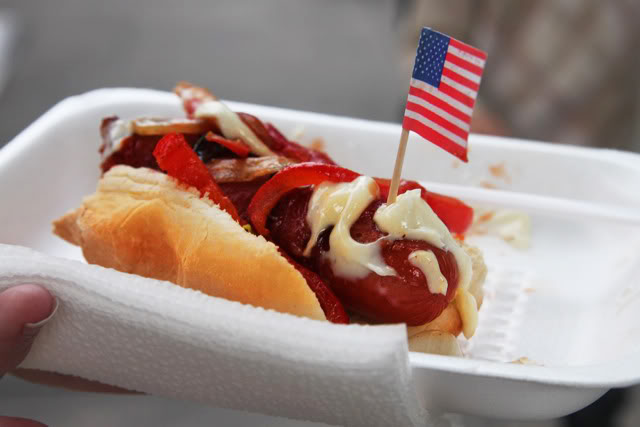
Lunch:
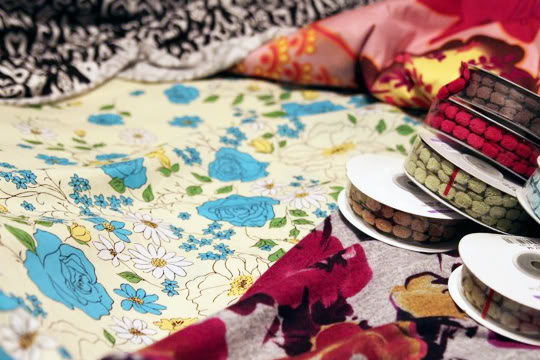
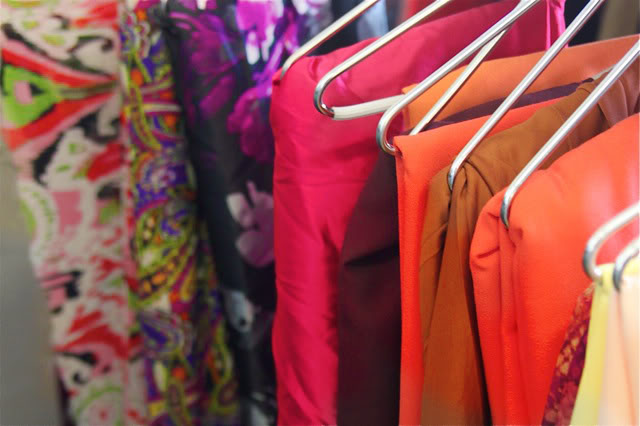
Color:
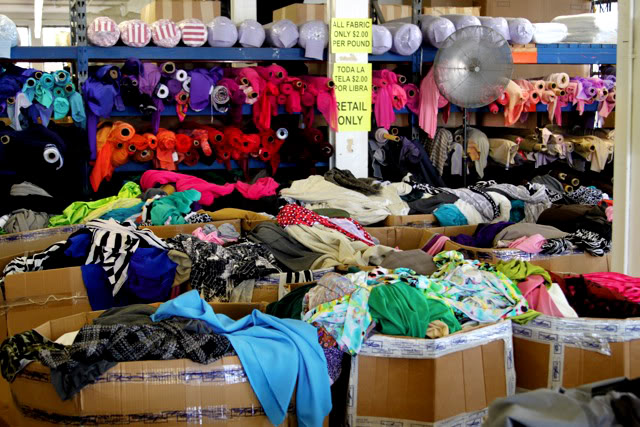
The “per pound” store:
I think these have been here for a while:
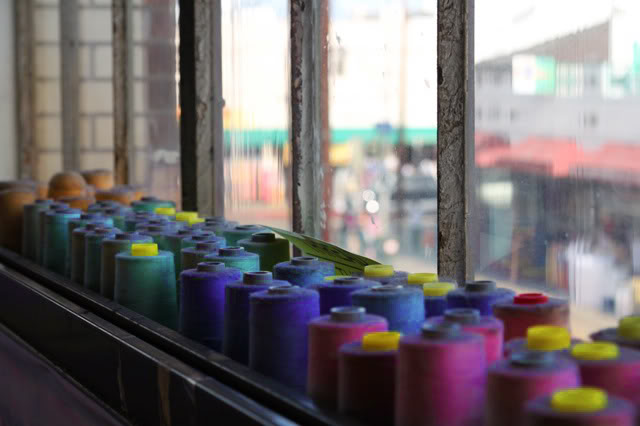
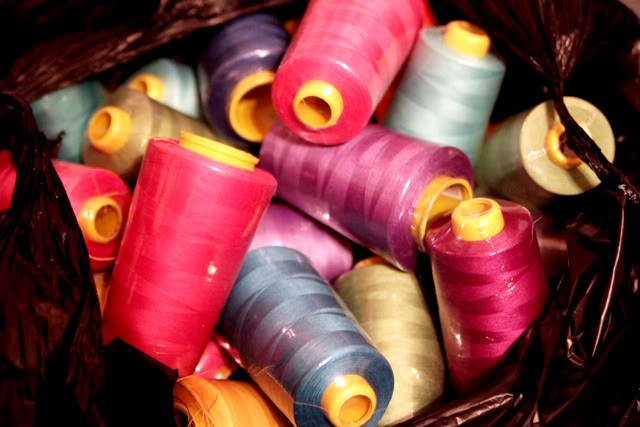
30 new spools of thread:
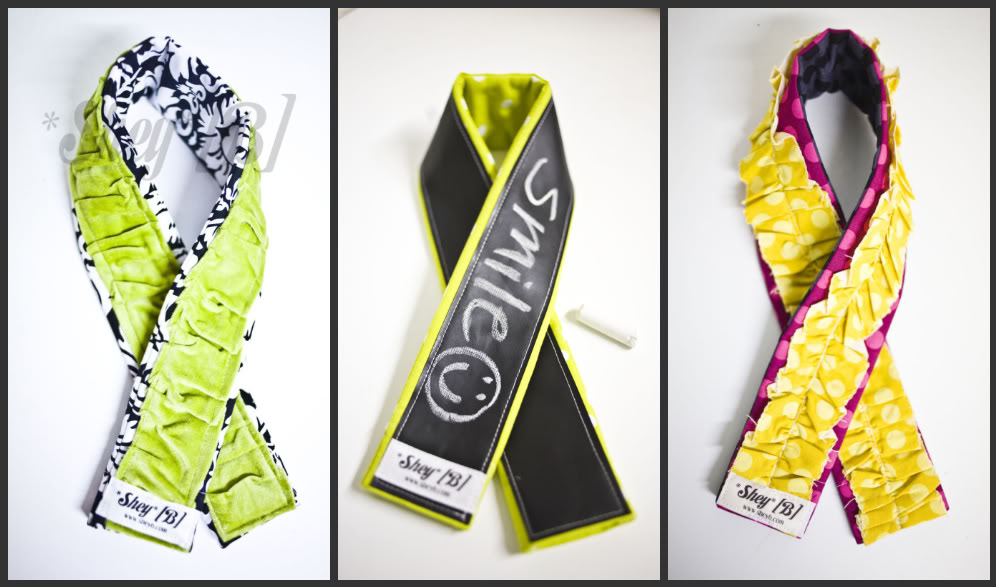
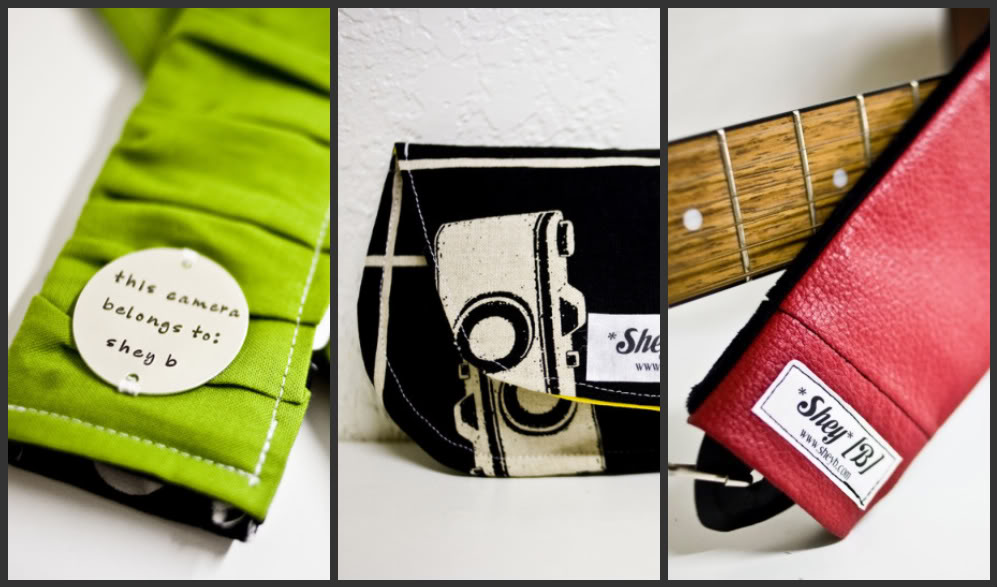
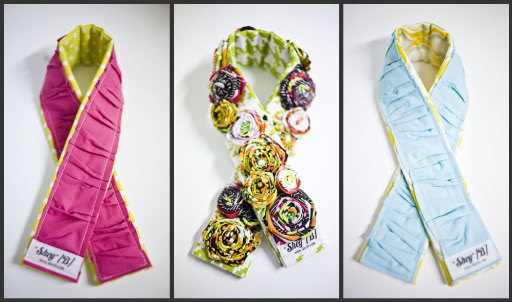
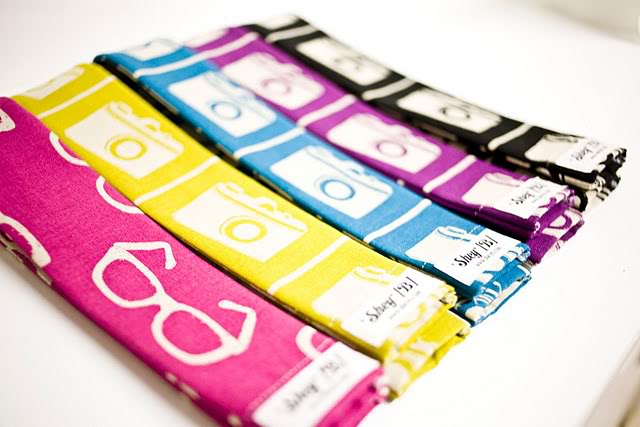
A tiny peek at some new inspiration: