I made this easy little picture frame tray for my fall decor but now it doubles as my vanity tray. It’s easy to keep clean and dust free and can be made out of any photo frame:

A collection spot for jewelry and perfume bottles that usually clutter my dresser:

Here is the same tray when it was being used to decorate the dinner table for fall:

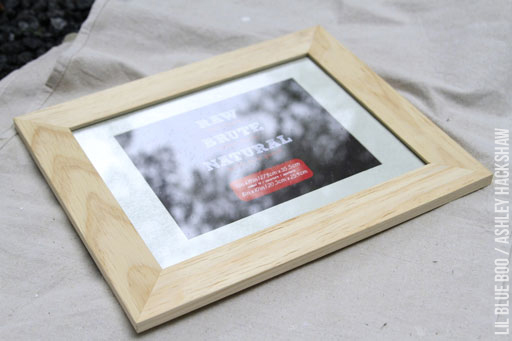
I started with a raw wood frame knowing that I was going to distress it:
I used a “barn wood” technique that I’ve shared before on the blog: How to Antique and Age Wood Instantly.
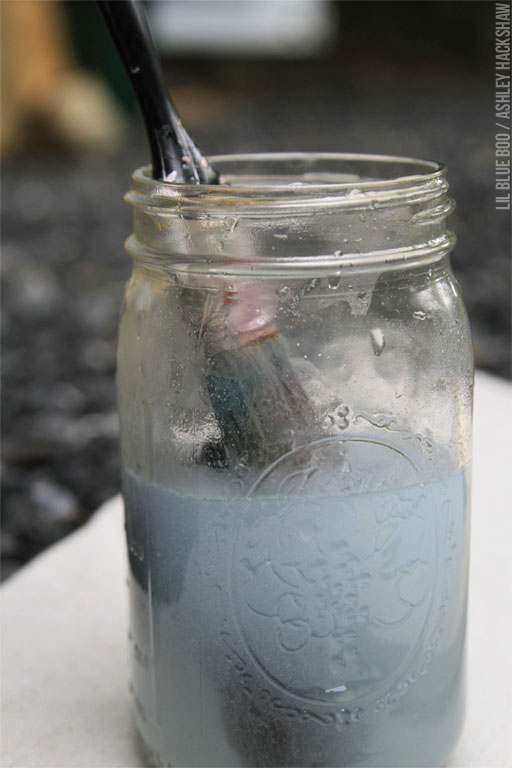
I used my vinegar and steel wool concoction on the wood: [Read more…]