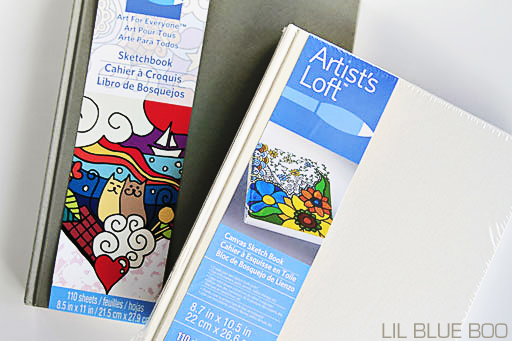
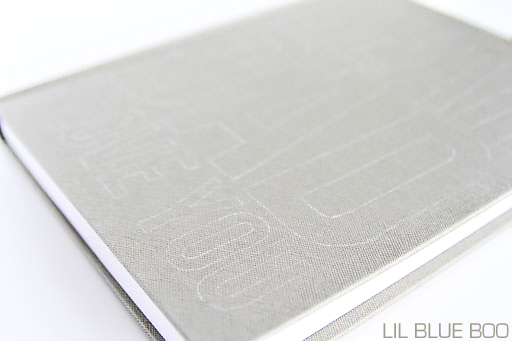
My challenge this month as a Michaels Maker was to create a Father’s Day Gift. I decided to make a Father-Child journal that could be used to exchange messages back and forth. The starting point was just a blank sketchbook like these:
I created a template (which you can download at the bottom of this page):

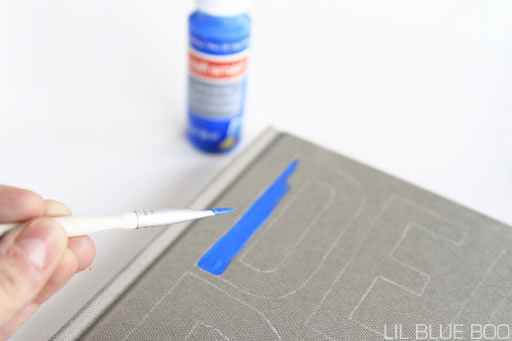
I used transfer paper to trace my image onto the blank book:
Here are the faint outlines of letters waiting to be filled in:
I used regular acrylic craft paint to fill in the letters:
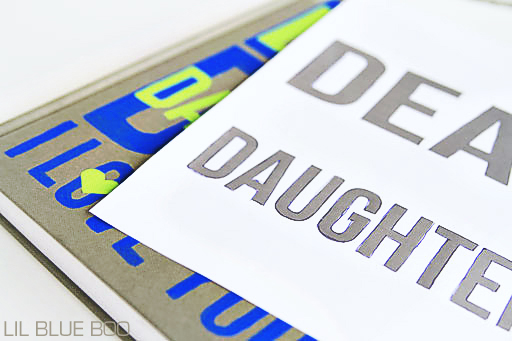
Once the first letters were dry I printed out another template to add the “Dear Daughter” in a contrasting color. This template (as well as “Dear Son” are at the bottom of this post):
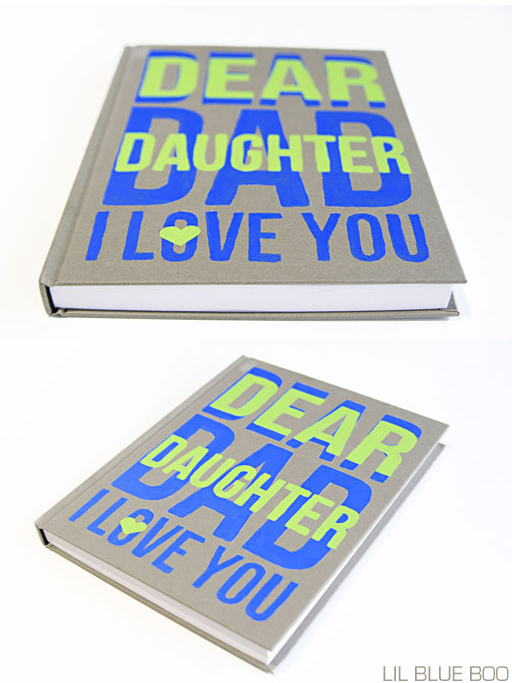
The finished journal:
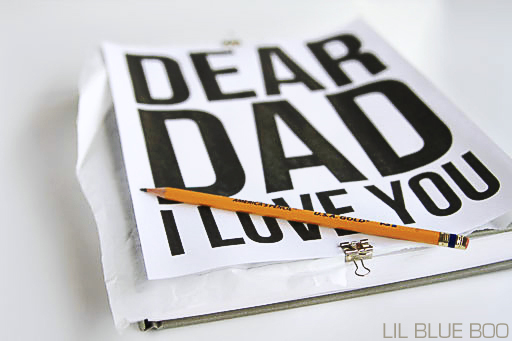
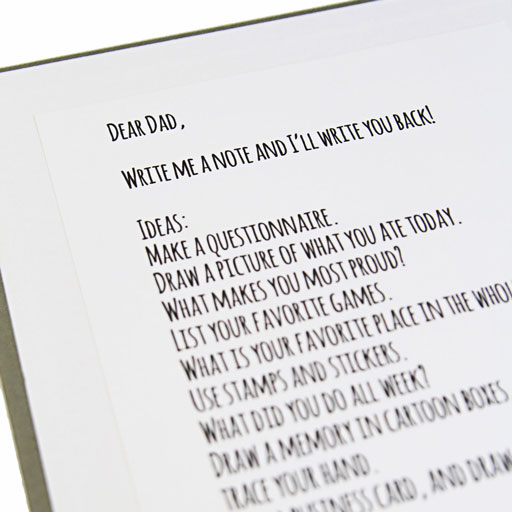
I created this letter (template also down below) to make it clear what the journal was for…and to give Dad some ideas on things he can write or draw in the journal:
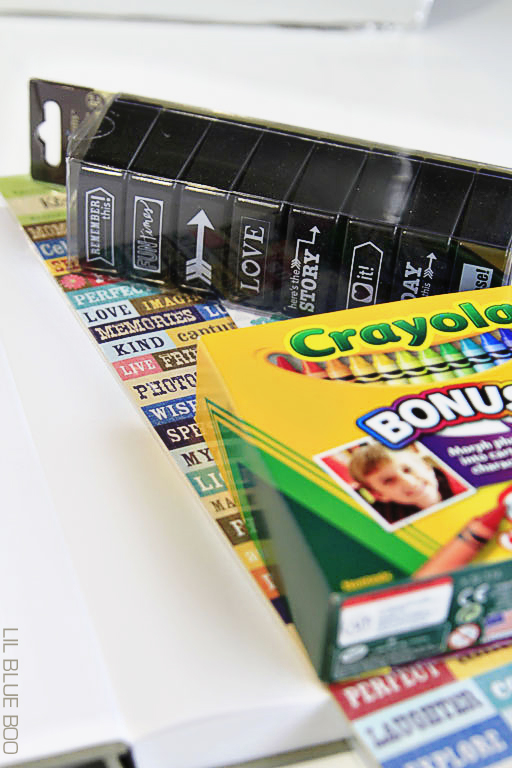
And of course the gift comes with supplies like stickers, stamps and crayons:
Package it all together and father and child will make a memorable book! [Read more…]
")