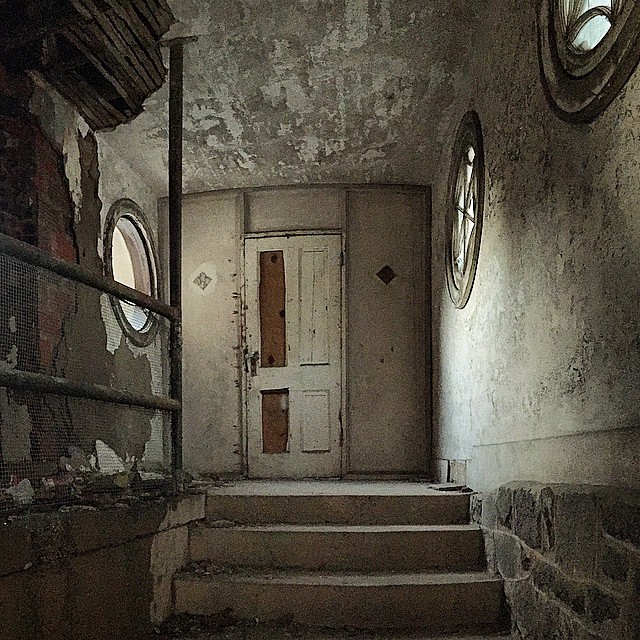
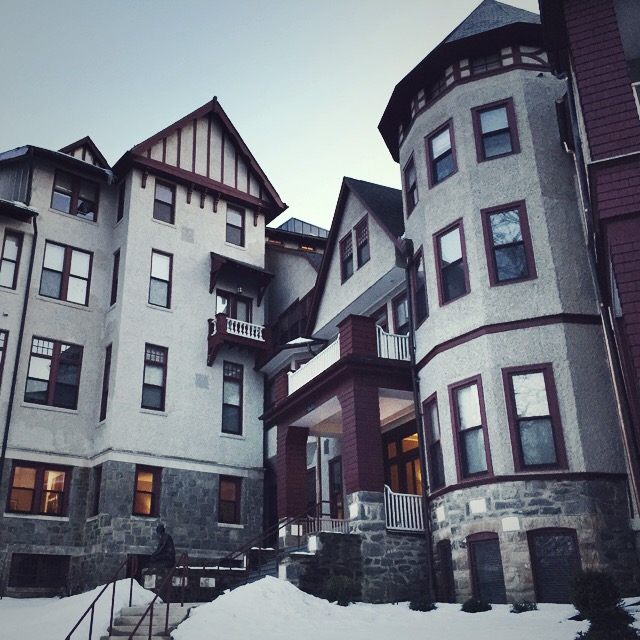
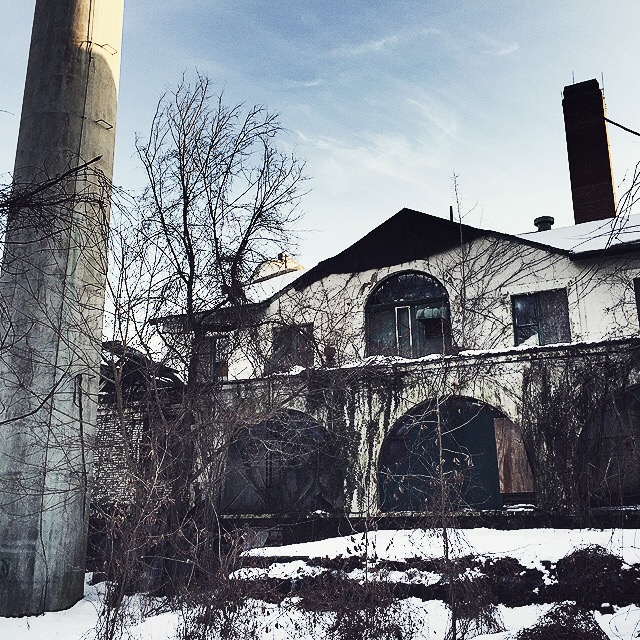
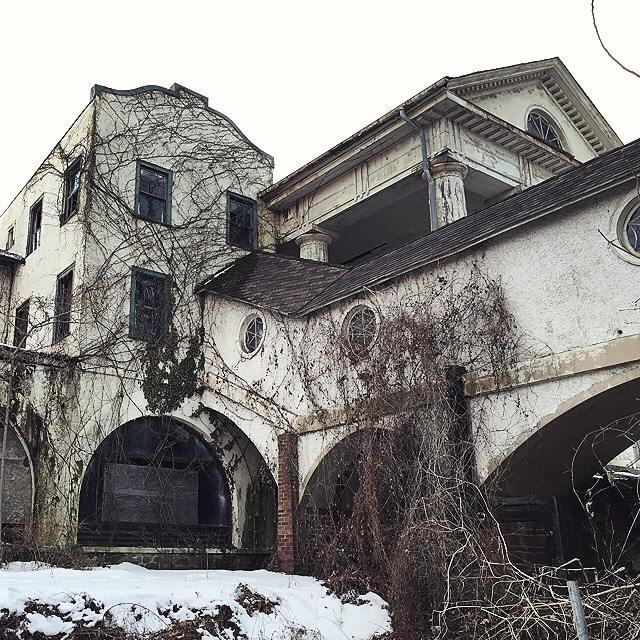
So this is a long overdue Brett update. After the post I wrote last year about walking away from everything the most perpetual question I get from people is: What will your husband do? I think people might have assumed he retired? Some thought we bought the inn we were staying at.
For the past few months Brett’s been renovating a building in downtown Bryson City. Just a little background, last October we were looking at places to live after the inn and we started with downtown Bryson City because we thought renovating some retail spaces that we could live above would be a fun project. After looking at a few places I had second thoughts about living right downtown, I needed more personal space. Right around then we ended up finding the House on Hospital Hill. But after looking at a few places an old building on the corner of Main Street, right in the middle of town square caught Brett’s eye.
When our agent Marty took us to look at it I was like: are you serious?! But Brett was serious. Last summer we got to know two guys, Ben and Dwayne, owners of a web company WNC Interactive. They were helping me change some stuff around on my website. Brett became instant friends with them. When they weren’t working on websites they were renting paddle boards at the lake under the name Bryson City Outdoors. Ben even took us out one day so we could try it out.
Brett: I think the building on the corner would be perfect for Bryson City Outdoors.
Me: That building is horrendous.
But Brett, Ben and Dwayne were able to look past the horrendous-ness. It took me a little longer to visualize it, but the more I heard Brett talk about how he thought he could help out this small local company the more excited I got about seeing him excited. Plus, we are all about giving back and the result would be fixing up the building that is always conveniently left out of Bryson City photos. And so we put in an offer and soon we had a deal. Shortly after that Brett became partners with Ben and Dwayne in Bryson City Outdoors.
It’s been an entirely different experience renovating a building downtown, in a small town. The locals stop by all the time to see the progress. Each visitor has an opinion how something should be done. You have to have a little bit of a thick skin for that, and a friendly demeanor: that’s Brett. Most everyone is glad that someone is finally updating the building that has sat there so long. And everyone just wants to know what it’s going to be. I usually reply: Walmart.
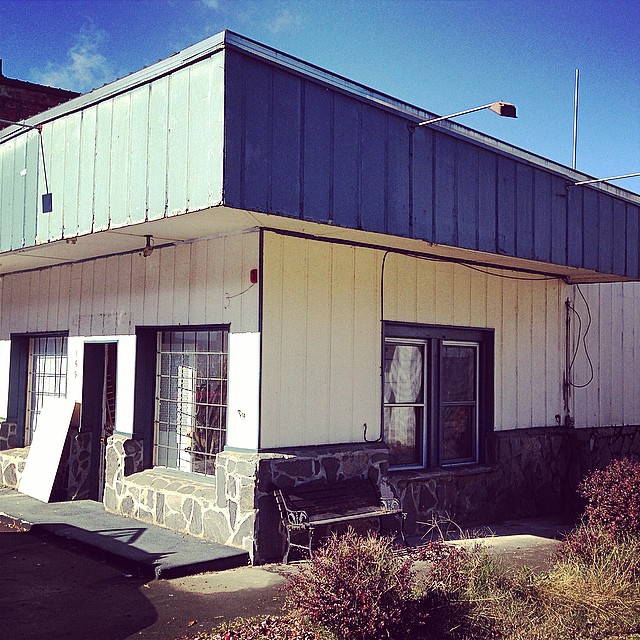
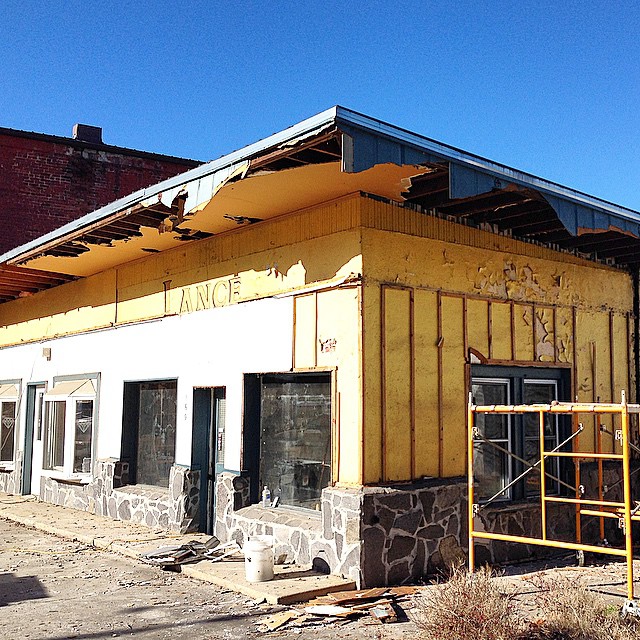
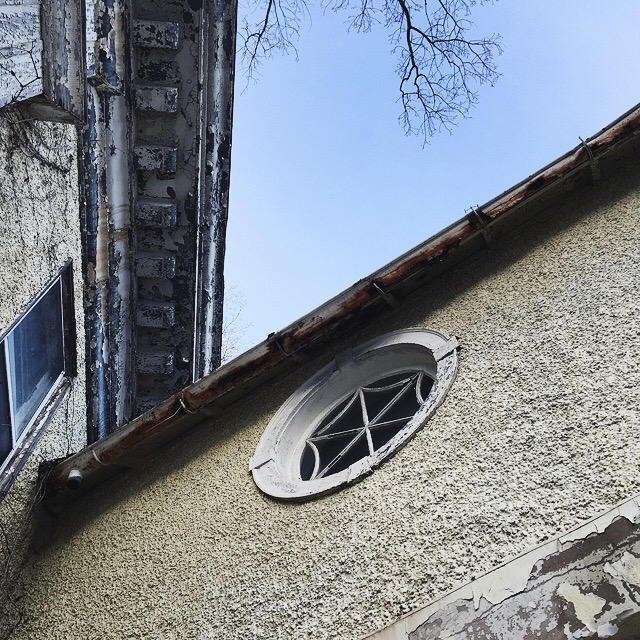
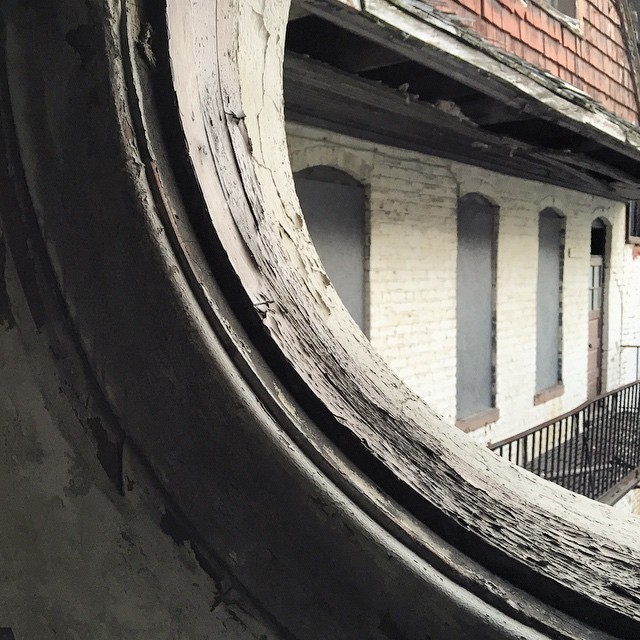
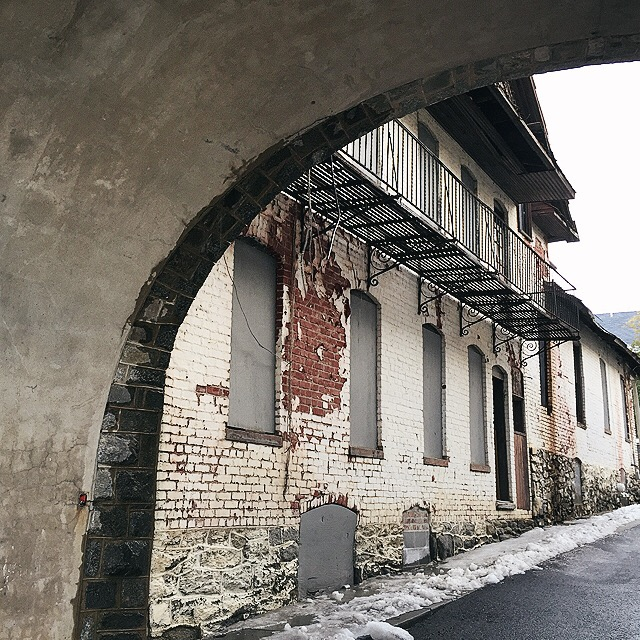
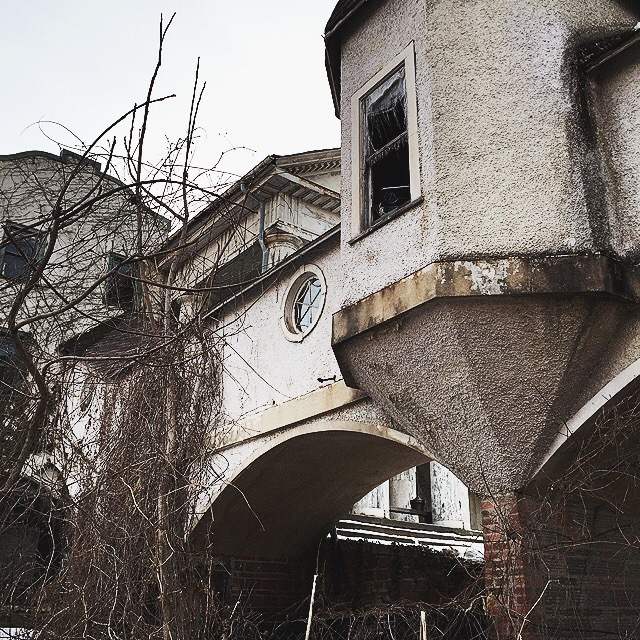
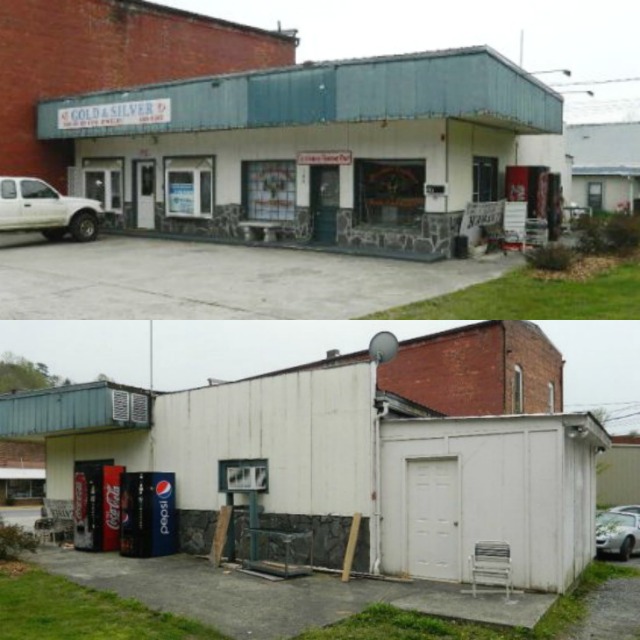
Here is the building when we bought it back in October:
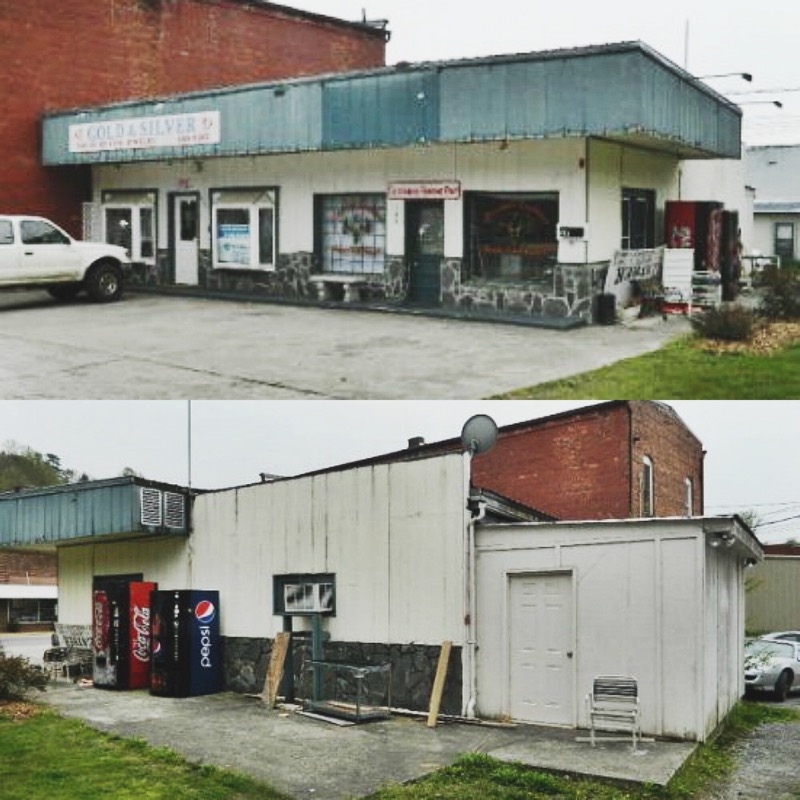
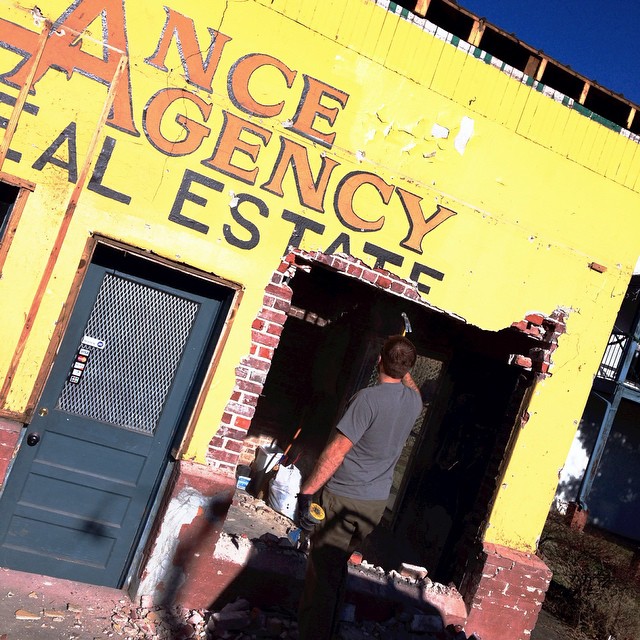
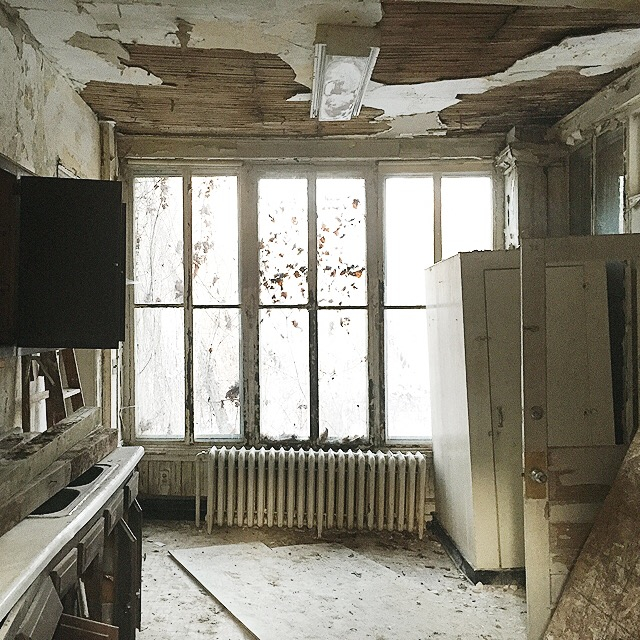
I don’t want to scare you but here are a few photos:
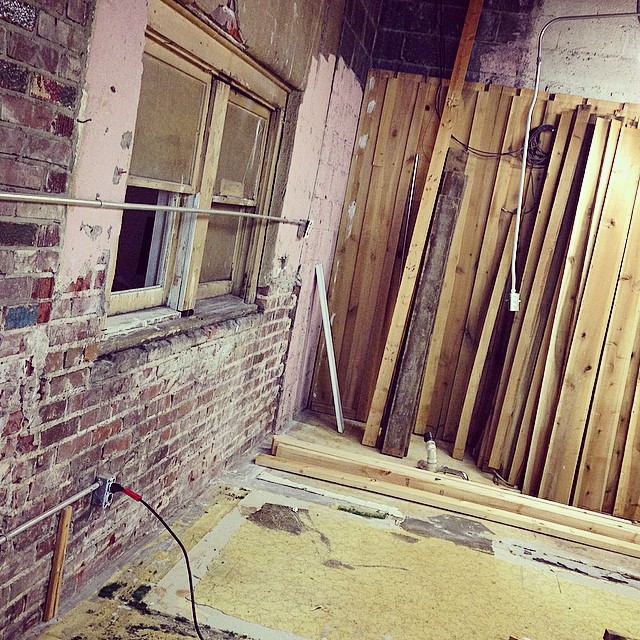
The first stage of demo to the inside. That was awesome as the guys found secret walls and windows revealing the past history of the building:
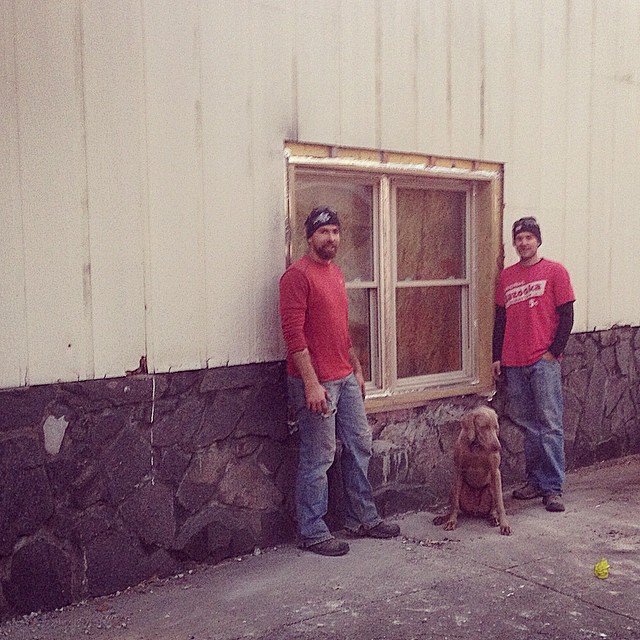
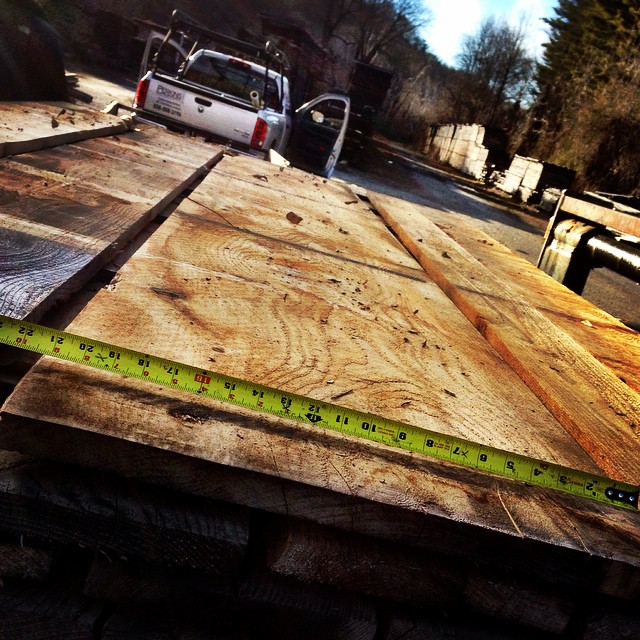
The goal was to use as many reclaimed, recycled and locally sourced materials as possible. We were able to salvage all of the large windows from a home our friends were tearing down in Charlotte to replace the old ones in the building. Below is a photo of Ben and Brett installing the first windows….they had to cut through a concrete wall to enlarge it:
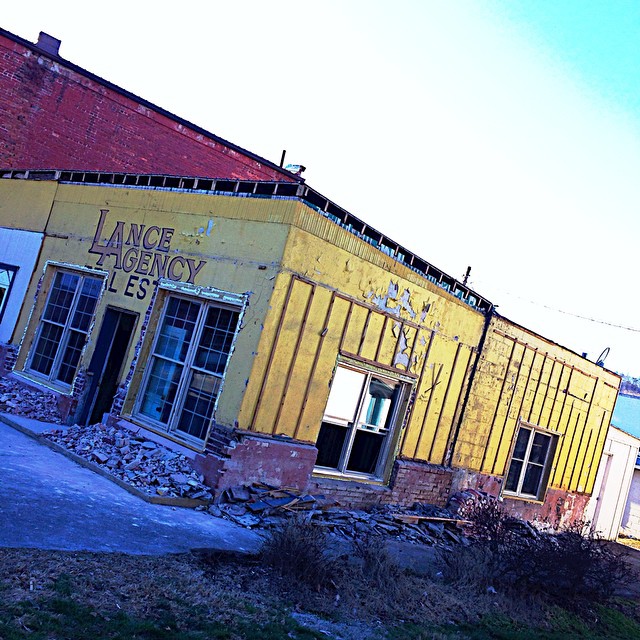
Slowly the exterior began to come off. A friend stopped me in the grocery store one day and said: every time another layer comes off of that building it gets a little uglier.
Making room for a new window out front:
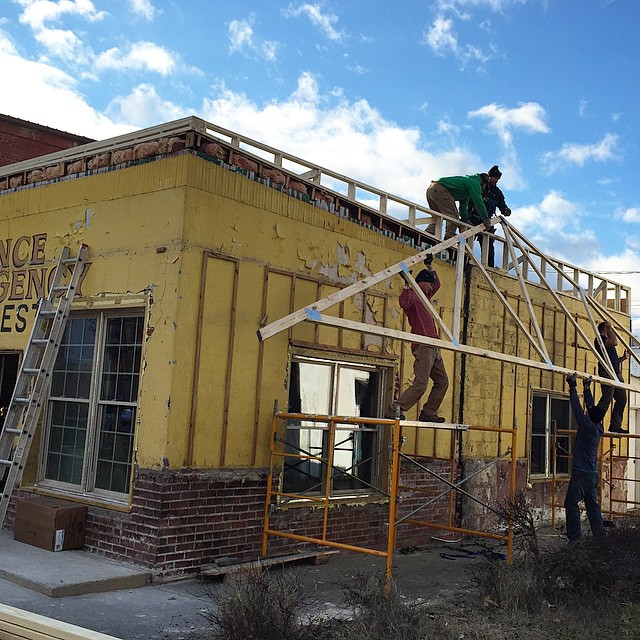
All the new windows put in! But no roof.
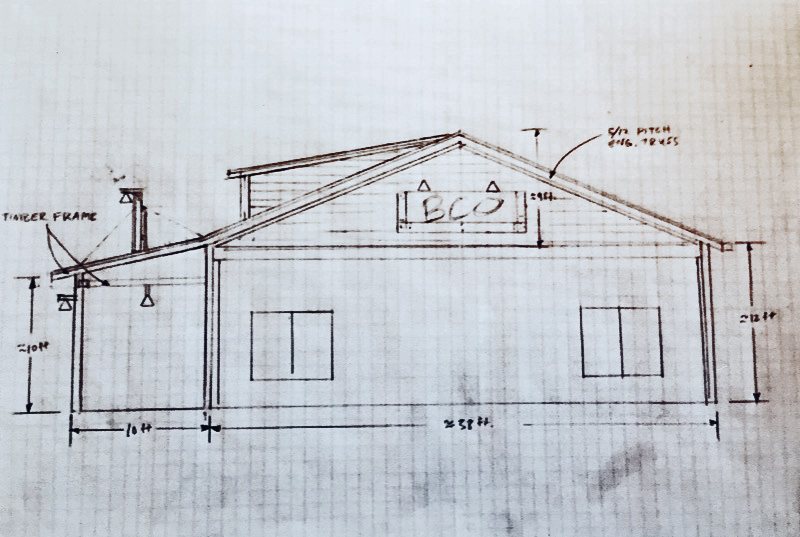
Brett had our friend Erik Perkins sketch out and plan a new roof:
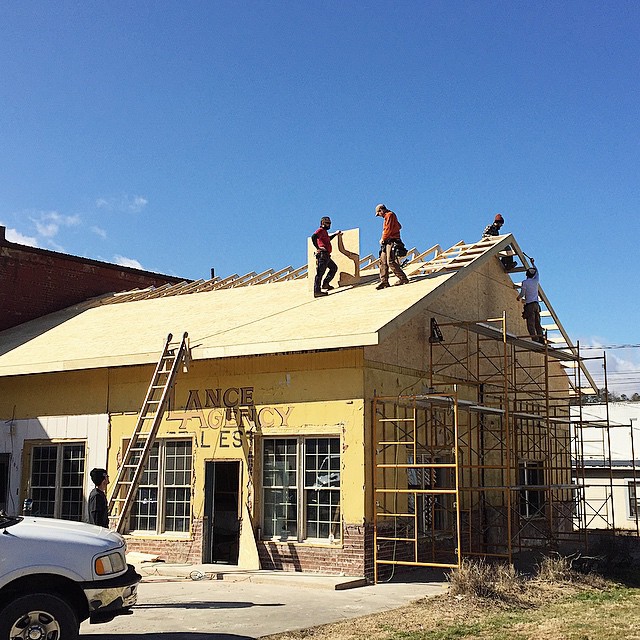
The Perkins brothers, Erik and Jaime, took control of this huge roof job:
Amazing what a pitched roof can do for an old building!
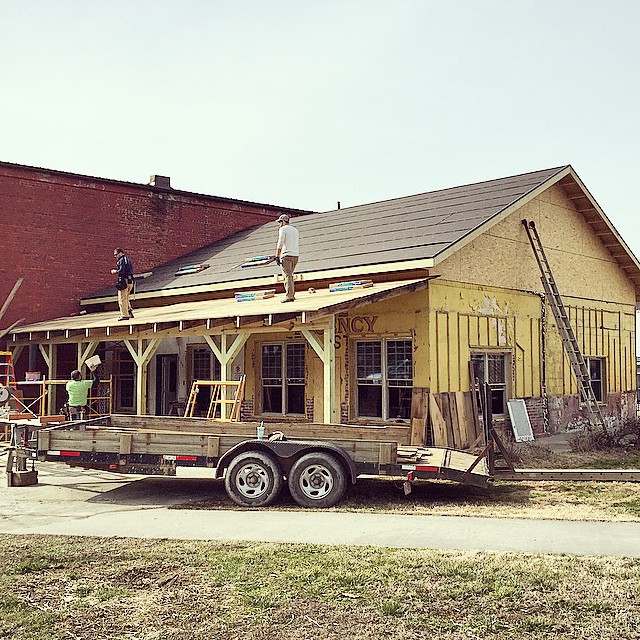
Then the awning was added:
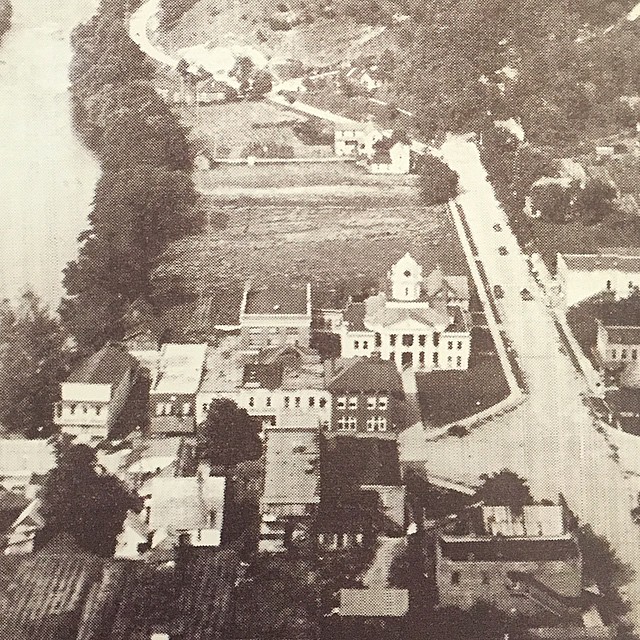
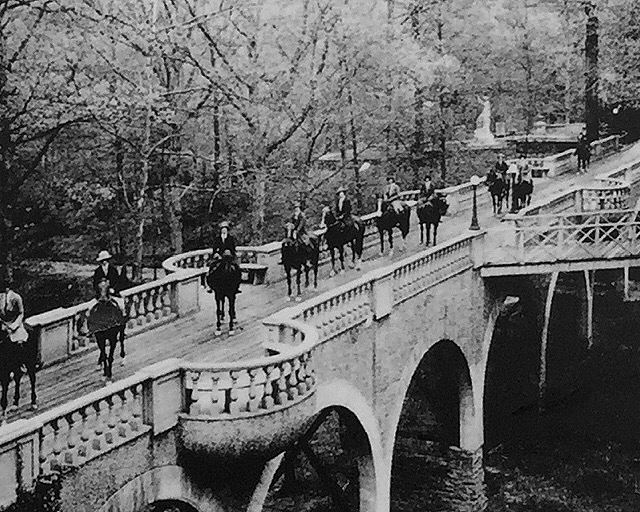
See that diagonal walkway in the photo above? I always wondered why that was there, until I found this old photo below of Bryson City’s main square and you can see that the diagonals mark the old intersection. It’s now been squared off. This photo is from about 1910 I think. The BCO building stands at the bottom right corner where that pitched roof peeks up behind the brick building:
Everyone involved are the hardest workers. They were even out there when it was snowing.
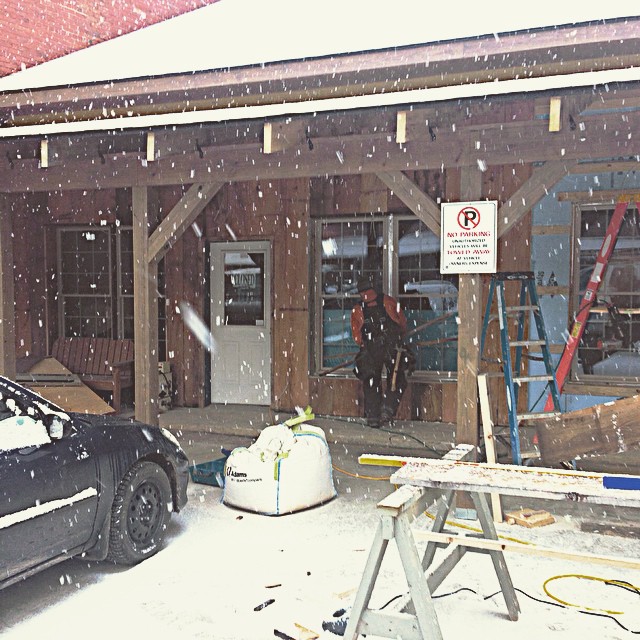 (photo courtesy of Brett Hackshaw on Instagram)
That’s Erik sawing in the freezing cold:
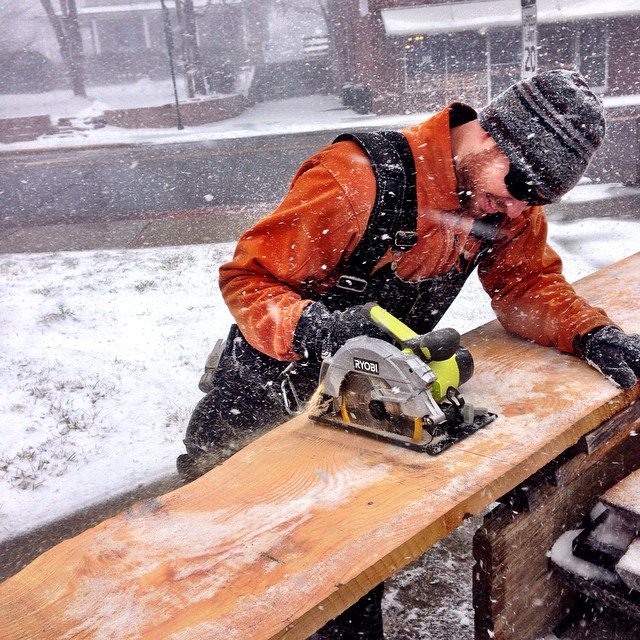
(photo courtesy of Brett Hackshaw on Instagram)
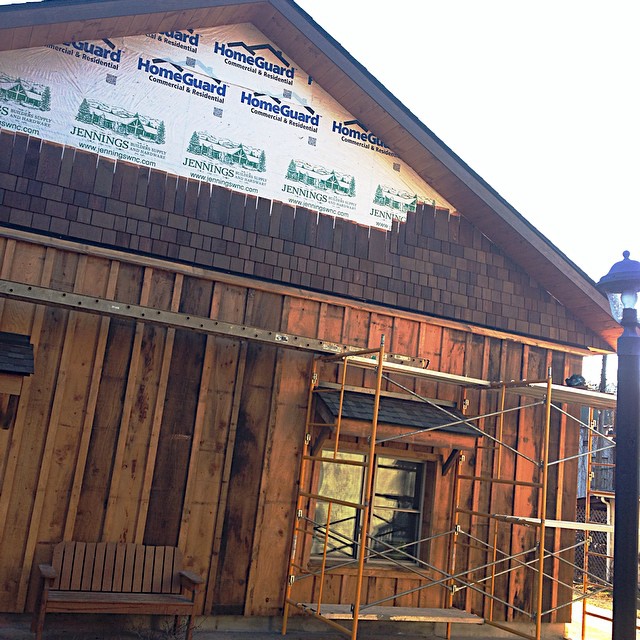
Hemlock siding was chosen because it could be sourced from a local sawmill, which makes it low impact to the environment because it only had to be transported a few miles. Each piece was picked out one by one:
The siding was done in a board and batton pattern, which just means using vertical panels and then covering the seams with smaller strips of wood. The cedar shakes were stained (“Bark” by Cabot) before they started putting them on:
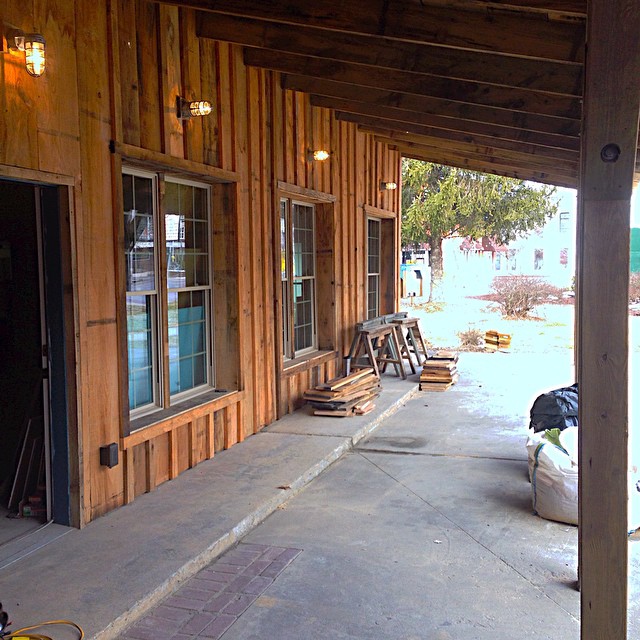
Industrial lighting was added under the awning:
 (photo courtesy of Brett Hackshaw on Instagram)
The green door is Bryson City Outdoor’s signature color:
 (photo courtesy of Brett Hackshaw on Instagram)
The finished exterior. We may have set a record for the amount of reclaimed, recycled, and re-used materials ever used to renovate a building on a shoestring budget. All the amazing industrial lighting inside Ben salvaged from a Buckle Store in Asheville. We even reused the old air conditioner that came out of our house. Just wait until you see the inside!

And meanwhile the inside was also being worked on. You can read about that here.
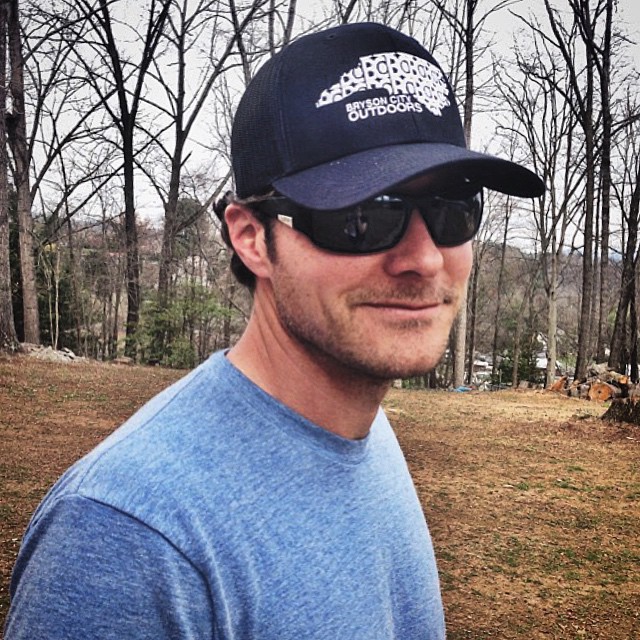
So proud of this guy. And all the guys. And Ben and Dwayne thanks for having faith in us. And thank you to everyone who has been involved from the start. It’s been a lot of hard work. You can follow more of the progress and look for the grand opening at @brysoncityoutdoors, @bretthackshaw and @dwayneparton on Instagram.
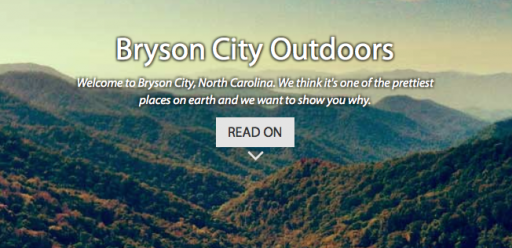
And there’s an awesome outdoor blog too…devoted to one of the prettiest places on earth:
In closing, I would like to send prayers to the family and friends of Mike Jones. He was the electrical contractor that worked on our building, and even more recently our home. He lost his life unexepectedly earlier this week. It was a great shock to everyone. Our hearts are heavy. I had only met him a few times but I know many of our friends who worked on the building were very close to him. You just never know what’s going to happen in this life. Make the most of it. And like Mike did for me: be friendly and smile to everyone you cross paths with.


