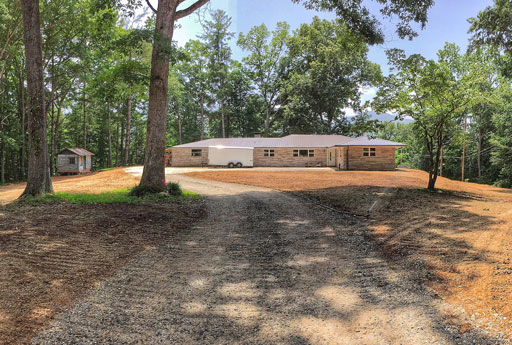
This is way overdue but I’ve got some backyard landscaping before and after photos of our house on Hospital Hill. This morning as I looked through the progress I realized that baby steps results in really big steps when I’m patient. Here’s when we first moved in:

When we first saw it we loved the property right off. There was so much potential. The first step was to start addressing some of the major issues like drainage and old tree stumps. There was a long awkward concrete walkway from the parking area to the house and a large stone patio that caused water to drain into the basement. I knew we needed to start doing something but I tend to get paralyzed by large projects unless I have a long term plan, especially since we are very frugal and I don’t like to spend money on things that might not be permanent. One day when my mother was visiting ( and carrying a huge load of groceries to the house) she said, “Wouldn’t it be nice if there was a driveway all the way up to the house?” And that’s when the whole landscape plan clicked for me. I went to Google maps and took a screen shot of our property so that I could sketch it out from scratch:

And then I added in all the huge changes that would have to take place: the new driveway, a new pea gravel patio area in the front and large trees that needed to be replanted:

On a budget it made the most sense to just hire someone to come in and regrade the property with large equipment….even though it would create a huge red clay mess for a while. That first step was the hardest…but we knew once we regraded and pulled out all the old tree stumps we could start putting things back together:

It only took a few days to regrade two acres of land, haul away all the old tree stumps, and carve out a new driveway:
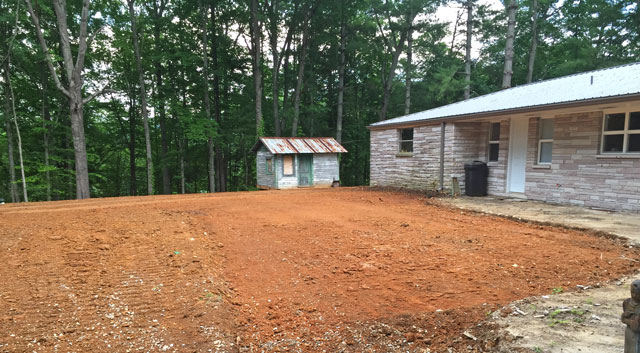
Then we had a blank slate to start with!
The next step was to call to have gravel delivered. We had regular unwashed gravel hauled in for the base layer of the entire driveway:
And one dump truck load of “chat” or pea gravel for the parking area and front patio (that I’ll show you in another post):
We had to replant grass…but a seed spreader and a little patience helps with that:
(Can you spot tiny Max on the driveway?)
Last year we skipped our landscaping plan to build the picket fence garden and chicken coop. All of the posts relating the old depot project are indexed here. I love how that little area turned out. Here’s before:
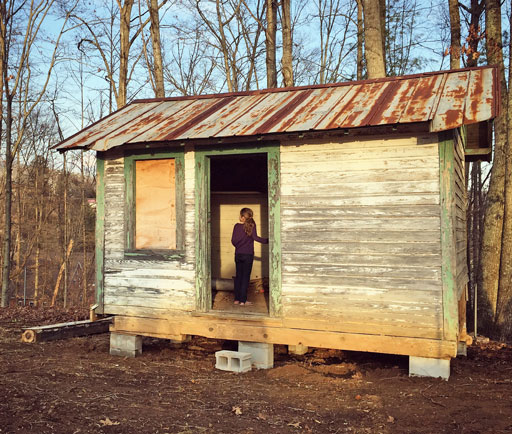
After:

Phew. That was a lot of work!
(Aww…look how cute Foshizzle was as a baby!)
Chickens were the best thing we ever did! They love free ranging in all that grass…eating all the grubs and ticks for us:

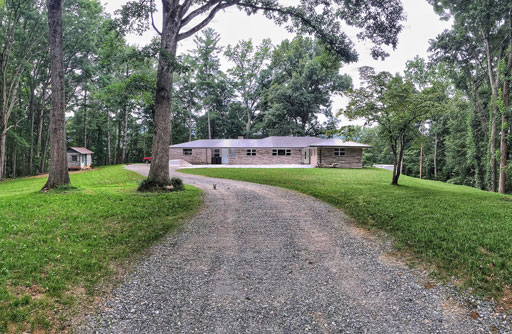
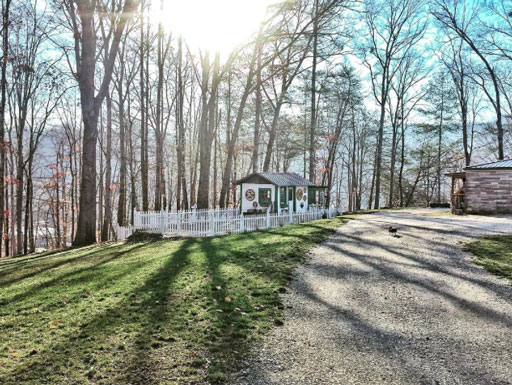
Up until this year we hadn’t planted much else besides the grass….but I love how it looks in every season…especially the fall:

And when it snows!

And even in the cold, barren months of winter. (Can you spot Happy?)
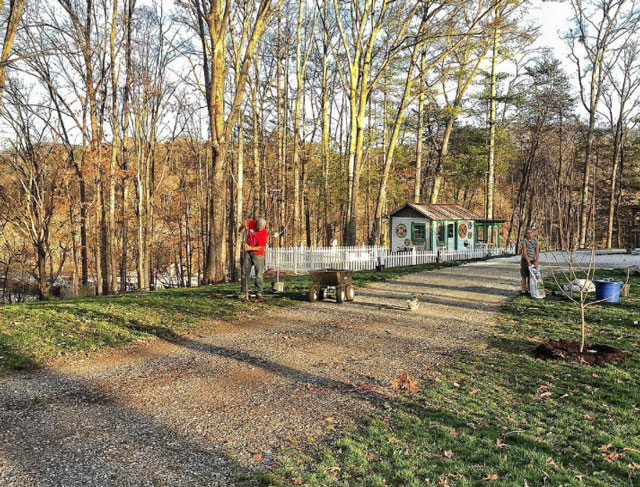
I’ve declared 2017 “the year of planting” for the house on Hospital Hill and I’m so excited to finally work on it. We planted trees a few weeks ago along the driveway. Cherry trees. Doesn’t Boo look thrilled?
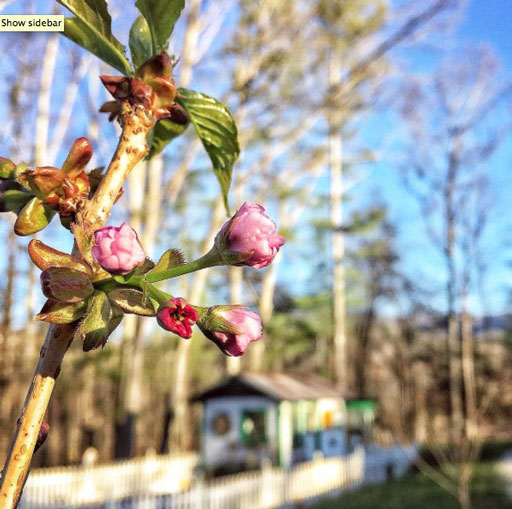
The first blooms!
This year we had a dump truck load of boulders brought in and placed around the property to anchor different areas. Now I’m working on adding plants in, around and between them. I’ve got the bug…the gardening bug. I tend to hibernate all winter and then when spring comes around all I want to do is plant and trim and pretend I’m Frederick Olmsted. But I have to do it in baby steps. I’m not allowed to purchase more than 2 or 3 plants at a time because I tend to get distracted and then they sit for weeks in their original containers begging to be planted. I was inspired by my bonsai trees to have kind of a non-linear Japanese garden vibe…so that’s the direction I’m taking:

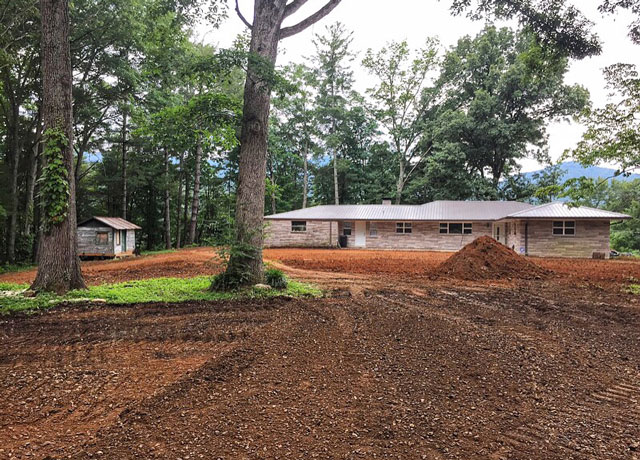
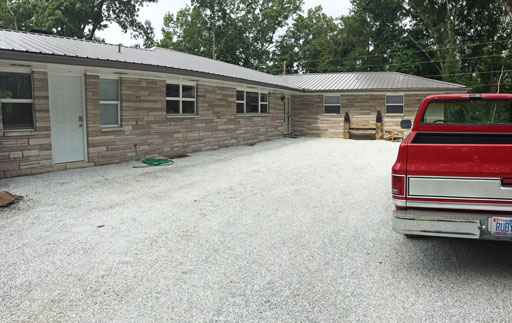
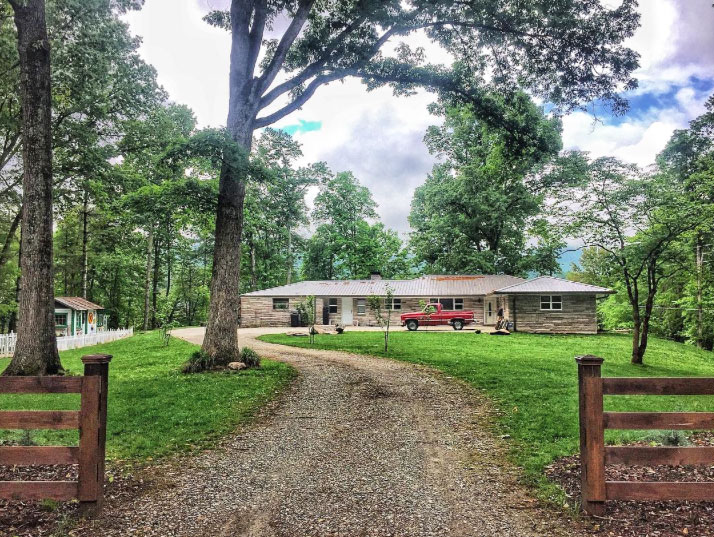
So here’s the before photo again:
And I took this photo this morning before it started raining so you can see what it looks like today…you can kind of see some of the rocks. I just planted some azaleas in between them that will grow up and around them nicely. I just mowed the grass too but it’s been raining so much that it already needs mowing again!
And this is one of my favorite things to do…burn our weeds. I try not to use any toxic chemicals around the property because of kids and animals running around barefoot, and runoff to streams and the nearby river. We use a propane torch to burn all the weeds along the driveway and around the rocks and house. We have a Lincoln Torch and it’s pretty easy to use….we just hook it up to the propane tank from our grill every few weeks:

(Lincoln Torch sold here.)
I love projects. I wonder if I’ll ever just stop and enjoy it all….maybe one day. Maybe. I’d love to build a greenhouse. That’s my next big project…I’ve been collecting old windows for that. And maybe bees. So far I think the front yard has had the biggest transformation. I’ll share that next!