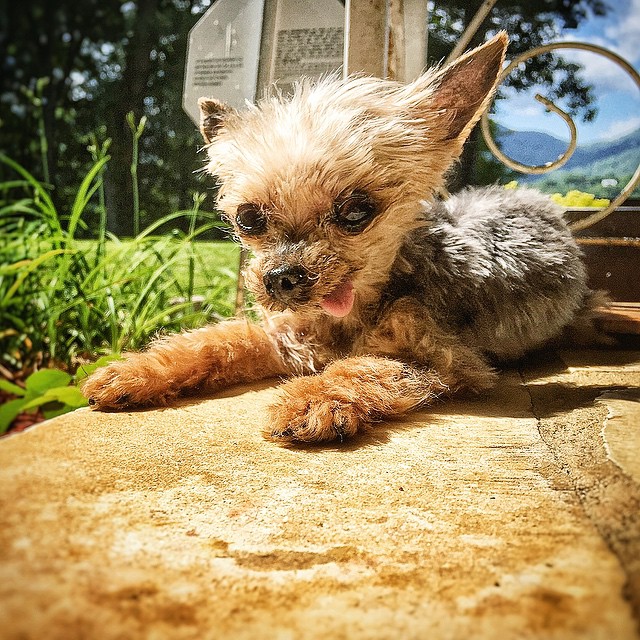
Every time I think it just might be close to the end for this little guy he rallies. Diesel had his last three teeth pulled two weeks ago and he’s like a new dog. This year he’ll be 14 years old. The vet says that his cataracts are now quite advanced and he mostly just sees us as shadows. Brett has built him a little handicap ramp to help him get on and off the front step. Sometimes he uses the ramp but mostly he tries to jump, maybe to try and convince himself that he’s still young. And sometimes I’ll see him pause for a second, and I’ll say “hold on old man” and he’ll stand there and wait for me to pick him up. His arthritis has taken a toll and it takes a little longer to get up in the morning, but he gets up.
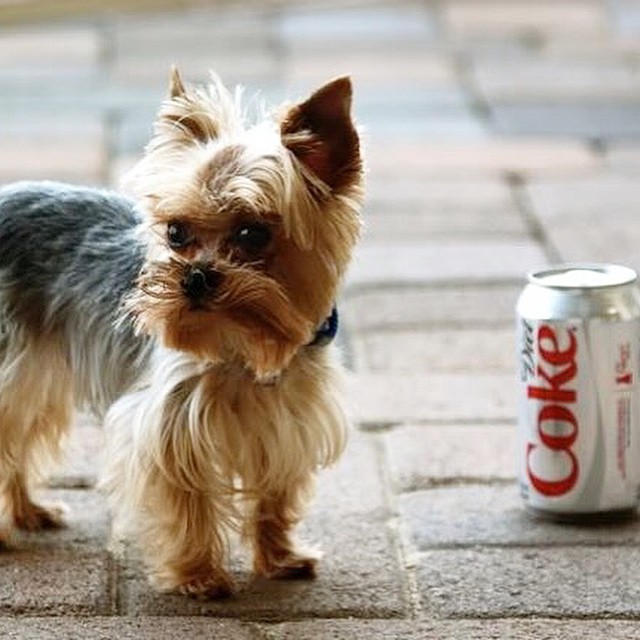
Back in his younger days:
One day I guess he’ll just let us know he’s ready to go. But he’s not ready yet. Today he ran outside to greet us and chased Max around the house a few times. He whines for his toys and tries to carry them around with no teeth. He steals Max’s bones and licks them over and over and over just so he can have the upper hand (because Max is too afraid to steal them back). Yes he might be small, but he has the heart of a big ole diesel engine. And when he gets up each morning we cheer for him, literally. Each morning that he gets up and walks outside to bask in the sun is a good day. Such a simple thing to take for granted. Were you able to get up and walk outside today to bask in the sun? Yes? Hooray.