This was my first submission to the SYTYC contest for the theme “harvest.” Here is the tutorial in case you are interested! Thanks all of you who voted!
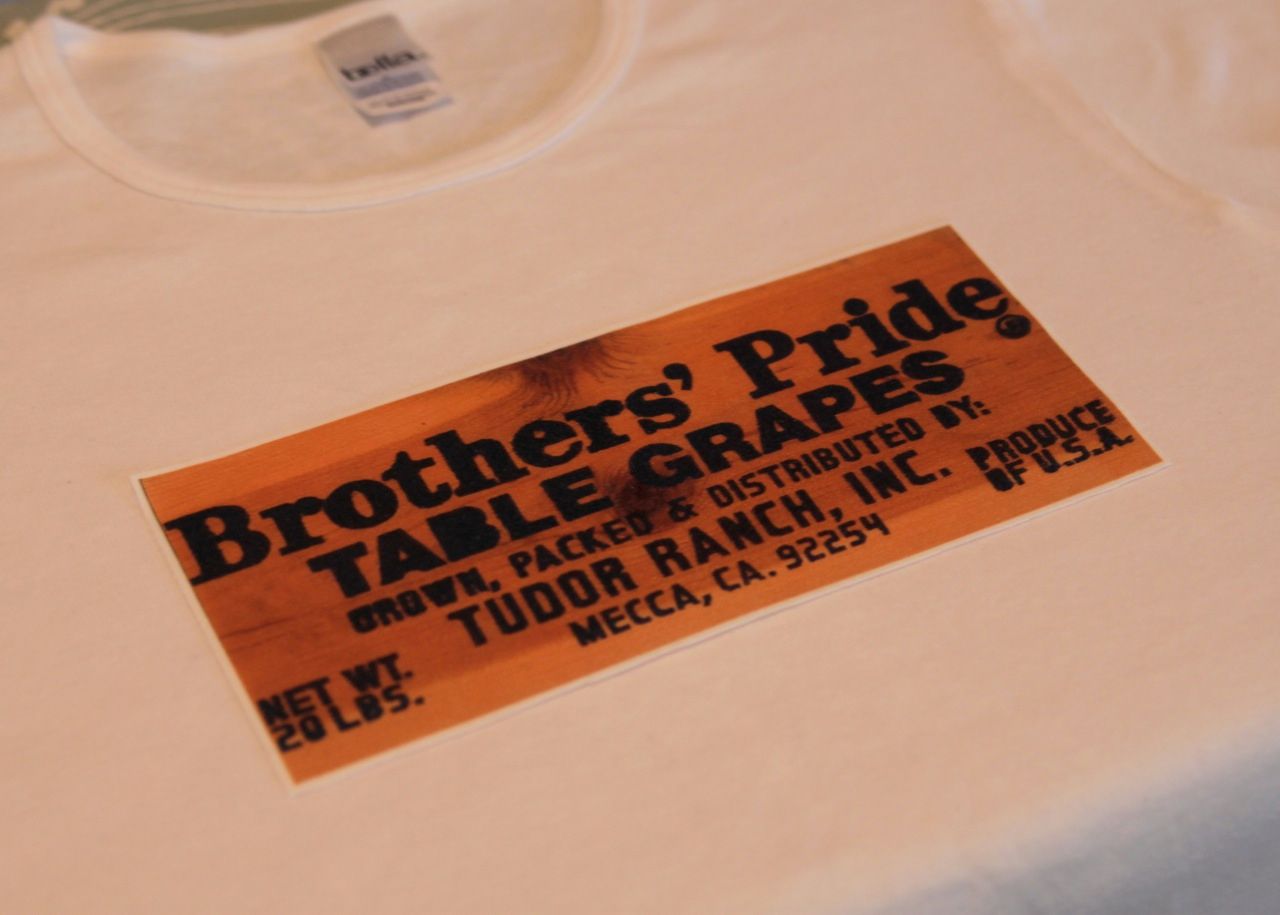
I love John Steinbeck….I own every book he wrote, including Grapes of Wrath. I love the wooden crates used for harvesting fruit way back before plastic was available. My friend George and his family have owned a grape farm since the 1940’s and I asked him for some of his old wooden crates with the ranch’s stamped logo. I used the wooden crates and some vintage fruit crate labels to create knit patches for girl and boy t-shirts. My two favorites: the “Brother’s Pride” crate label because of the wood grain, and the “American Beauty” fruit label because of the distressing technique I used.

Below is a photo I took at George’s farm. I think it is amazing how much agriculture is grown out here in the desert…..it is all irrigated by canals! You’ll be driving along surrounded by only sand and tumbleweeds and then all the sudden:

Step 1: I took these wooden crate slats and scanned them directly into my computer. I also had a few paper labels I scanned in. You can actually buy an entire CD of copyright free images here if you have trouble tracking down physical labels.

Step 2: Reverse the images on your computer, resize them and the print them onto t-shirt transfer paper.

Optional: If you wish to apply a distressed look (similar to the “American Beauty” label shown at the bottom of the page), lightly scratch off portions of the printout before transferring.

Step 3: Cut out the transfer and place face down onto the t-shirt knit. The trick is NOT to use an ironing board…..you should a hard surface like a table or the floor and place protective brown paper or an old t-shirt on your surface to protect it. Follow the directions of the specific transfer paper you are using.

Step 4: Peel off the transfer backing…..

……and cut out your transfer leaving about 1/8″ of plaint white knit around the edge.

Step 5: Cut out a piece of Wonder Under or other fusible web product slightly smaller than your patch. Note: Do NOT use the fusible web that needs to be steamed in a second step (usually has backing on it)….the steam will affect the ink in your transfer.

Step 6: Position your knit patch onto your t-shirt with the Wonder Under sandwiched in between.


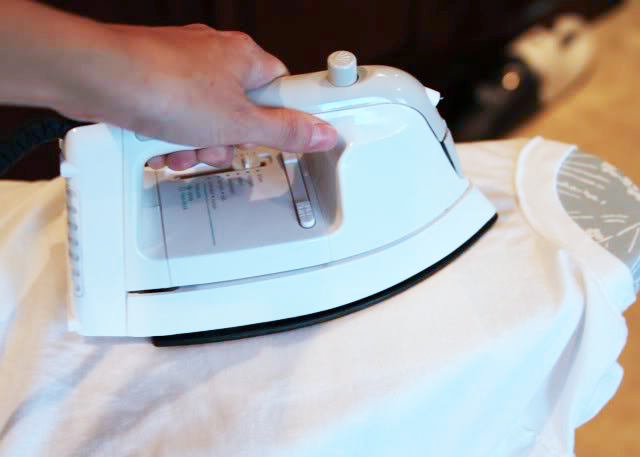
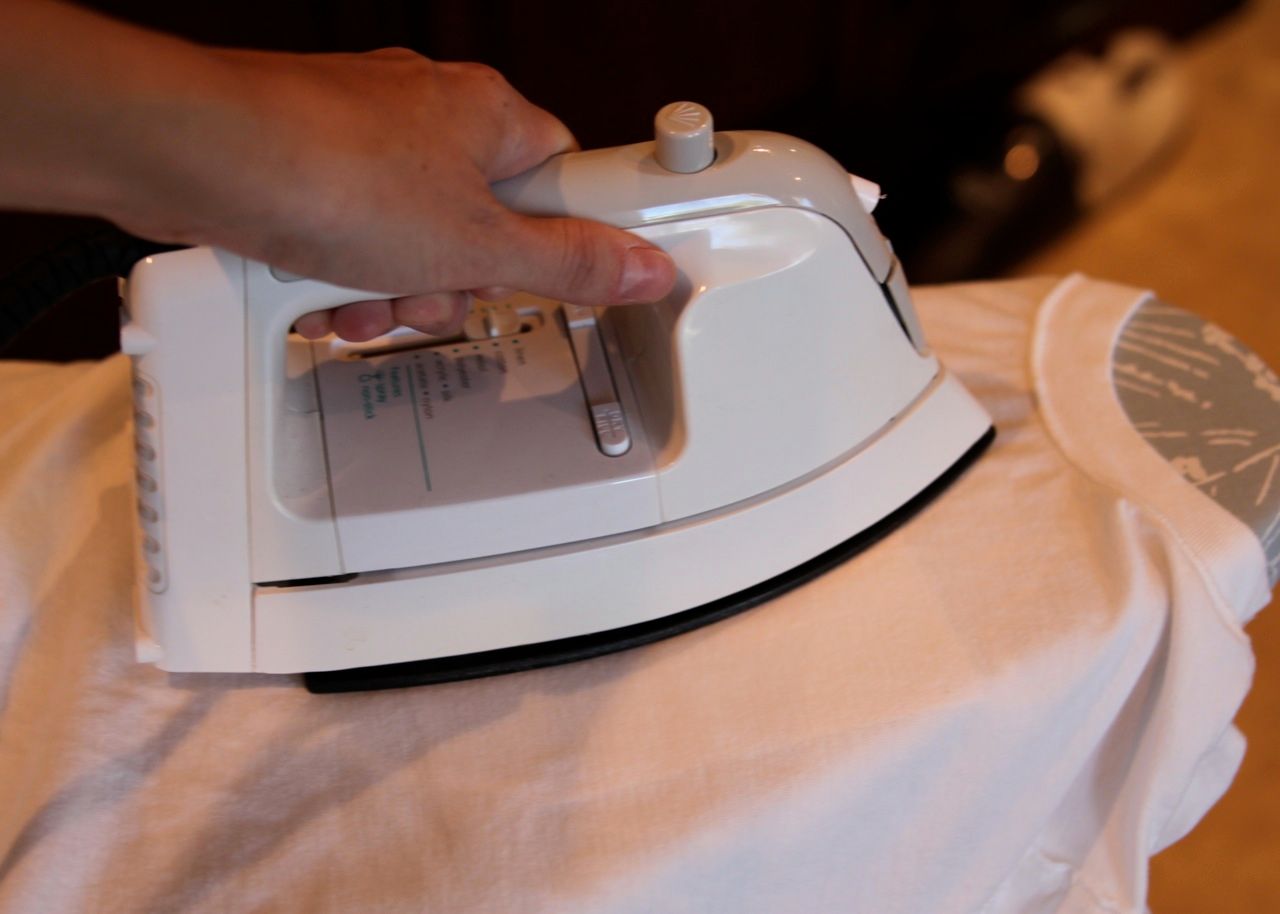
Step 8: Turn the shirt inside out and place over the narrow edge of the ironing board and press the patch area with the iron to finish fusing the patch to the shirt.


Finished!

There are so many designs out there you are destined to find the perfect ones for your little girl or little boy! You can also use the patches for jeans, coin purses….so many possibilities!

You always have such great ideas!!
Great tutorial. I also follow your blog through Google Reader, does that count as an extra entry?
need to learn!!!
need to try!!!
need not to be affraid!!!!
need to follow step by step and try it out!!!
great tutorial…..i knew it was you!!!
What a cute idea!
I am a follower too!
Oh, I hope I win!! Love it! The shirts are so cute!
I follow your blog too:)
the shirts are adorable. (fingers crossed)
i follow your blog 😉
Those shirts are so cute! I follow your blog-love it.
booharts@comcast.net
Thank you for the tutorial!! I follow your blog…I follow several but I get the most excited when I see that yours has a new post!! I recently bought the Paper doll dress pattern from you on Etsy and I'm LOVING how the dress is turning out…& I'm a beginner at sewing! Thank you!!
You are so inspiring! Love the new project!
Loving all your cute projects!! I hope to have some crafts to share sometime soon!!!
Thanks so much for sharing!! I have a little man that would look so cute in one of these!!
Very cute t-shirts! I love vintage fruit/veggie labels. Very inspiring……now I must get busy!
These are so cute. I didn't even think of scanning the crate right to the computer. Thanks for sharing.
I am a follower!
I love the shirts!
these are awesome!
I follow your blog
I follow your blog!
I love seeing sewing ideas that are gender neutral and this is one I'll definately try.
I love it, and I'm pretty sure I follow your blog!
I'm having fun with all of your fab tutorials! Thank you!
I have a boy! I live in the northwest! I love apples and super-cute t-shirts! It's meant to be. 🙂
And now, I follow you!
Super cute shirts! Wish I had the apple one when we went to the apple orchard!
I am already a follower.
I love your blog…….I knew that this was you when I voted for it….I can't wait to give it a try. Would look super cute on the sienna dress.
I love this tutorial! I have some lemon crate labels that I would love to try it with. My son would look so cute in the shirt that you are giving away. I am keeping my fingers crossed:) Thanks!
I follow too! lyndsiebutters@yahoo.com
Clever!
One of the first units I taught as a student teacher was Grapes of Wrath…so many memories of that book!
It is meant to be as I have a boy that wears size small!! ashley.whipple@gmail.com
I am a follower too.
ashley.whipple@gmail.com
These are so cute! Please enter my name and I am a follower. Thanks, Amy amydhay@gmail.com
Seriously cute! I can't wait to try this with a holiday card instead of the crates… or, may have to do a wine one for my girlfriend! It's perfect. I have you linked from my personal blog, so I guess I'm a follower! Thanks again- K
Ooh me! I'm up to my eyeballs in little boys! 😉
I love this shirts tutorial!!
That is freaking awesome! There is no other way to say it!!
What a cool idea! These turned out great! 🙂
I also follow your blog, but, more importantly, have it on my crafty blogs blogroll. 🙂
Pick me Pick Me! Jackson would look so cute in that! 🙂
You are super clever. I love this. Thanks for sharing.
I was delighted to find out you were giving away that shirt – I had my eye on it from the start!! My email is blue_sparklers@msn.com.
Love the Tutorial and am so glad that you shared:)
Thank you!!
It is adorable:)
I follow Lil Blue Boo:)
Your ideas are awesome!!! and fresh. Truly an inspiration!!!
So cute…I would love it!
I follow you too!!!
What a great project, thanks!
I'm a follower!
Love these!
beachbrights at gmail dot com
I follow!
XOXO-
beachbrights at gmail dot com
thanks for this! there are not nearly as many cute boy clothes tutorials out there as girl ones, so this excites me- it's adorable!
I read your blog!!! Love it!!
i used to have a million of those labels….i wonder what i did with them?????
I have two boys! Thanks for the tutorial and chance to win. I love Travels with Charley by the way.
Fantastic idea! Thanks for sharing!!!
I was planning on leaving a xomment to say that I was hoping for this tutorial so thanks…but the giveaway is even better. I hope to win! I loved these shirts in the contest!
Also I follow your blog.
Very cute project!!!
Very unique, super adorable!
Great Idea – I want to try it!
Love these shirts! I actually voted for these. I'm so glad you posted a tutorial!! Thanks!
Love these shirts! I actually voted for these. I'm so glad you posted a tutorial!! Thanks!
This is great. Thanks so much!
http://www.nachomamasthreads.etsy.com
Loving your blog and great tutorial. I want to try to make the candy belt this weekend.
Very cool project!! Linked to it on Craft Gossip Sewing:
http://sewing.craftgossip.com/tutorial-vintage-crate-label-t-shirt-transfers/2009/11/14/
–Anne
thanks for another great tutorial! i haven't experimented with transfer paper, but that would probably involve us actually buying a decent printer…. 😉
Would love to win! Thanks for the giveaway and the tutorial!
I'm now following your blog!
This is fantastic! I check your blog everyday to see what great things you have created!
heartandsewl@gmail.com
very cute! thanks!
I had you picked for something else, but I did love these shirts! I might be able to do that.
Oh. And I follow you too.
I have a little boy that would look adorable in the shirt!
I'm a follower!
Good idea. I actually own a book/CD of vintage fruit label designs because I think they're so beautiful, and now I know how to use it! Thanks!
Love the shirt!!!
i also follow your blog 🙂
I am a follower!
I love these shirts!! Too cute!
lexislittleones@gmail.com
i want to say thanks for sharing so many great ideas….
had a horrible day as took my 3yr into hospital today,tests tests and more tests next week. praying God will look after us.
so..i have a little boy whose up for a tshirt i guess!!!
keep it up girl….love your blog
becky in malta
bpbajona@maltanet.net
Marvelous post/tutorial!! I love that you distressed the crate label. I love that you appliqued the labels to the shirts for dimension. I love love love it!
So enter me in your giveway, I'd just hang that little shirt in my studio to look at.
I really, really like this. You make it all look super easy! Is it really as easy as it looks?
Amazing! I have a ton of transfer paper I bought in bulk at Sam's club. The 2 shirts I used it for did not turn out…perhaps I used an ironing board??? Anyway, this gives me inspiration to use them up 🙂
What would the washing & drying instructions B 4 the finished project? Will the ink fade or run upon washing in washing machine? I am going to do projects like this with inkjet transfer paper, but was curious on how the project would hold up over time on washing & drying? Love your blog, very helpful! Love your projects!!