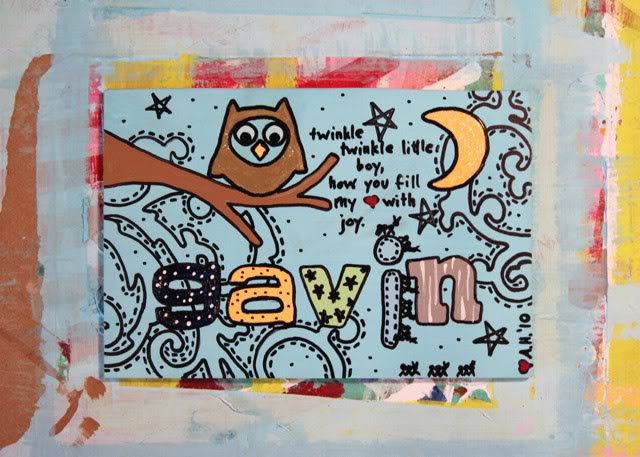
I recently finished this custom painting for a client and thought it would be a great chance to share how easy it is to use layering to create an interesting background for a painting.
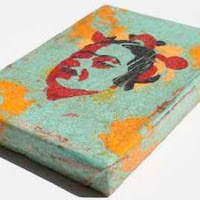
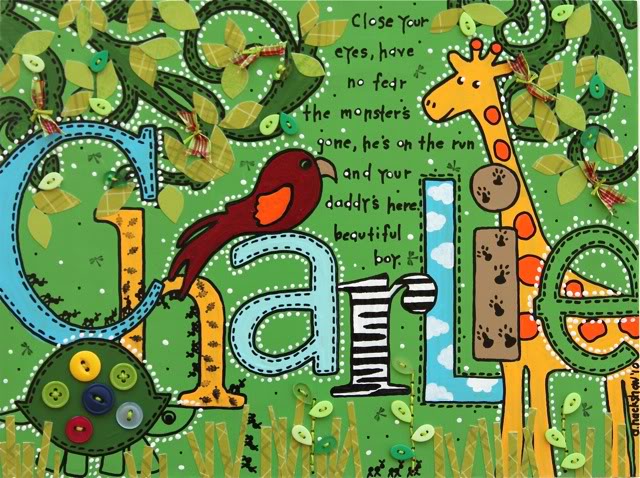
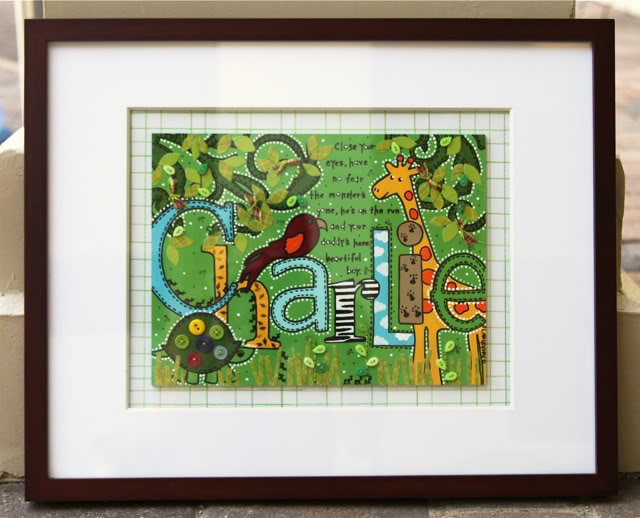
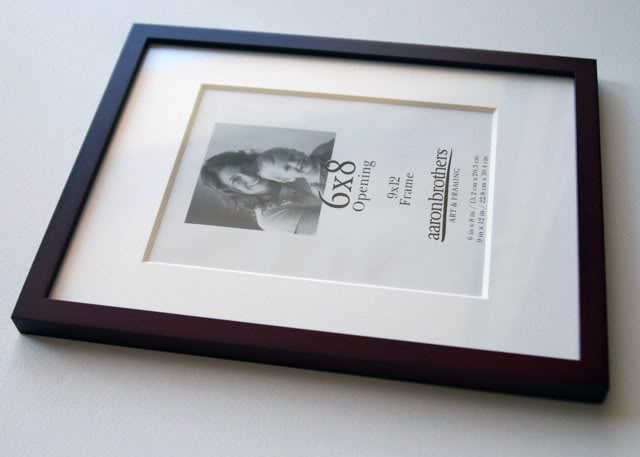
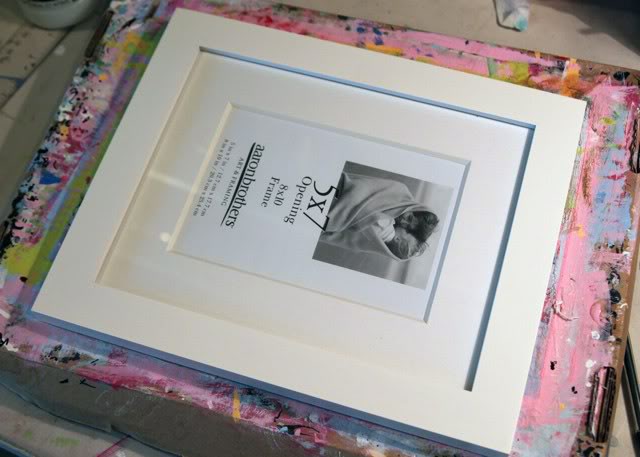
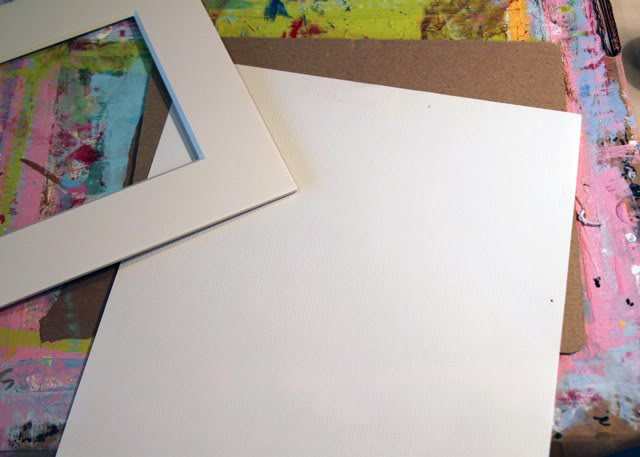
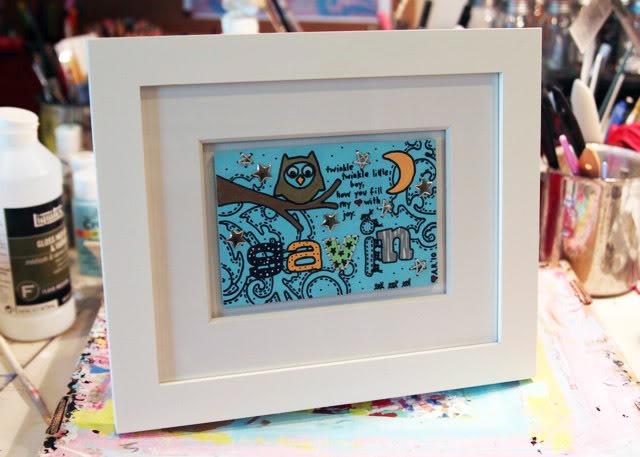
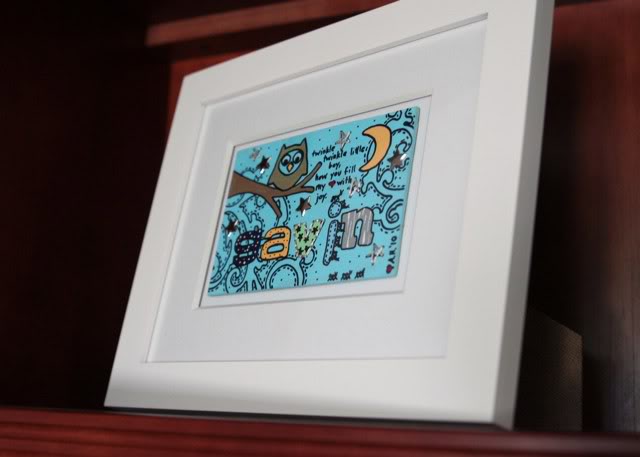
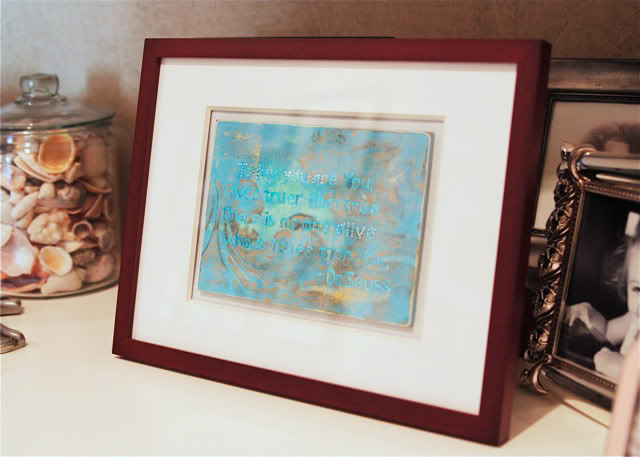
Here is the finished painting framed:
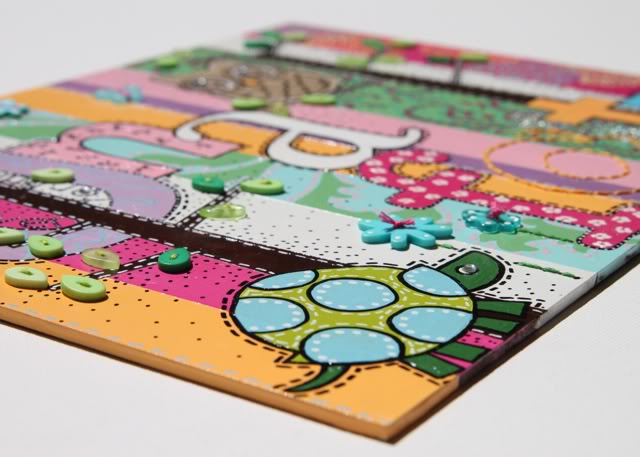
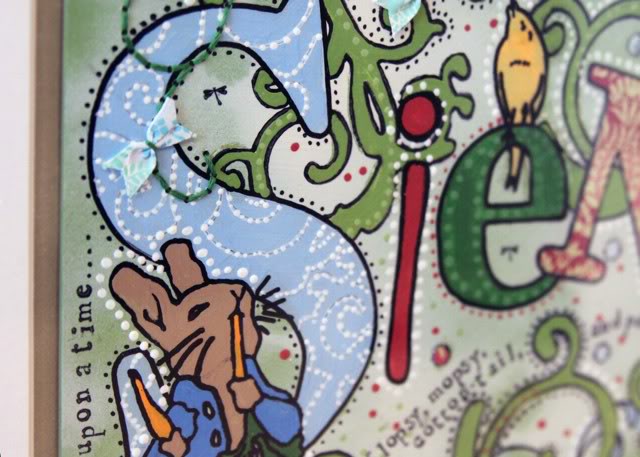
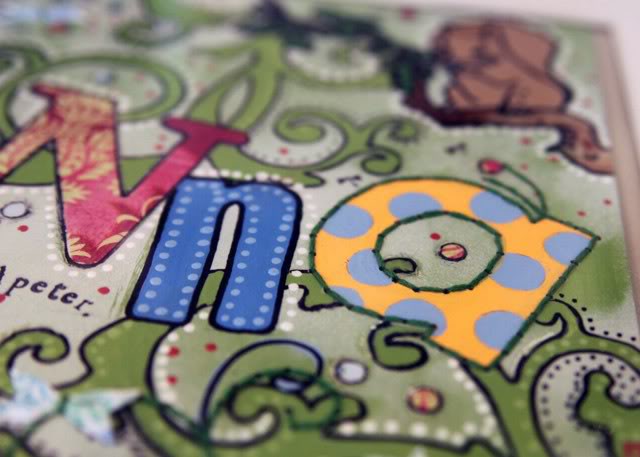
This tutorial is just an example of what you can do…..the more layers you add the more interesting your painting will become. I use acrylic craft paints and spray paints for my layers and I always love to experiment with different gels and mediums as well!
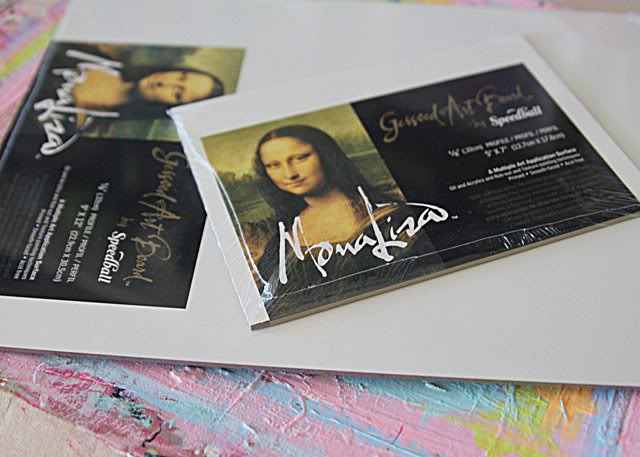
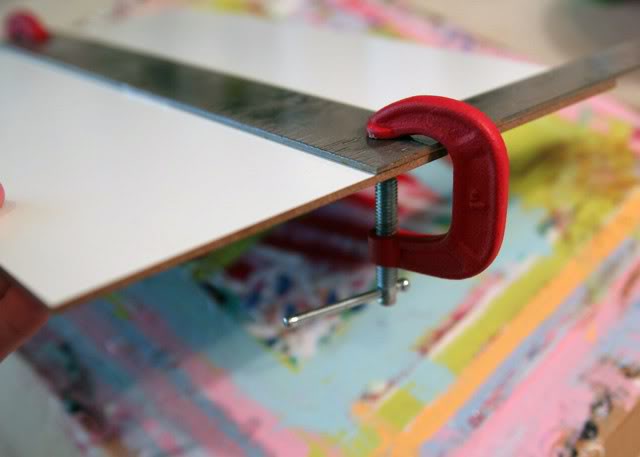
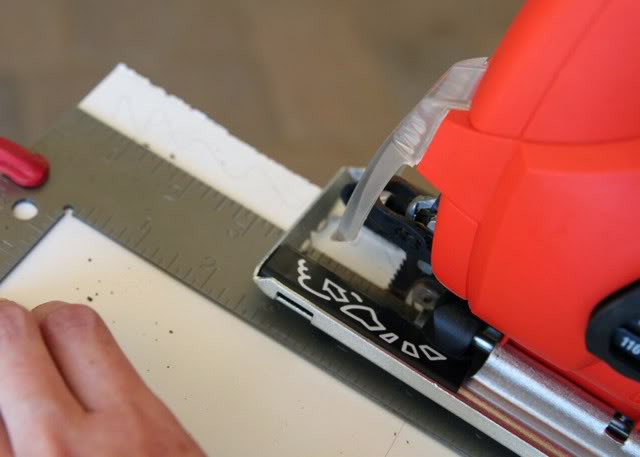
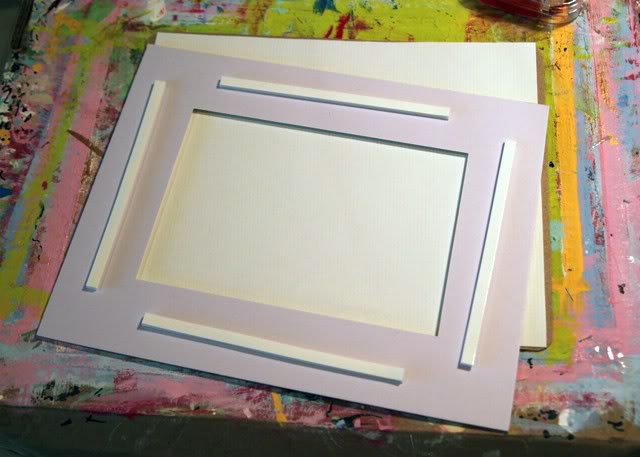
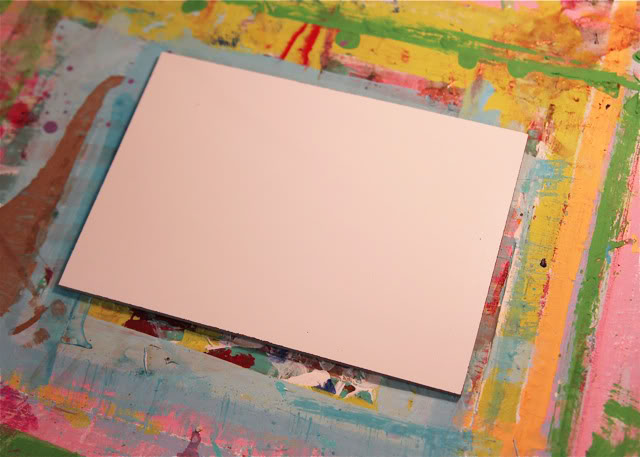
First I start out with a small piece of hardboard or Gessoboard (gesso means it is pre-primed). It won’t warp and it doesn’t have sap or woodgrain. It is also thin enough to frame under glass. You can buy it in several sizes.
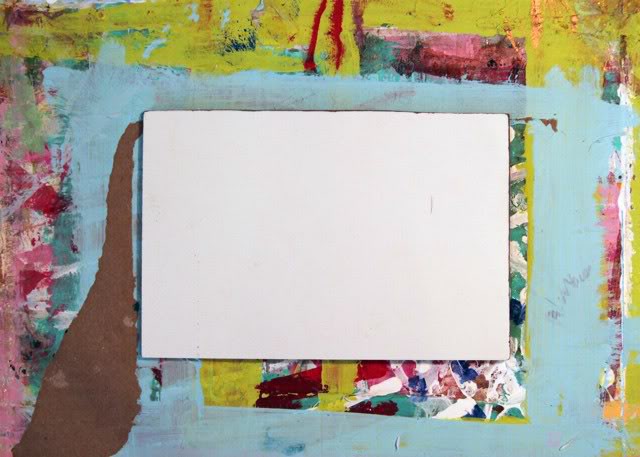
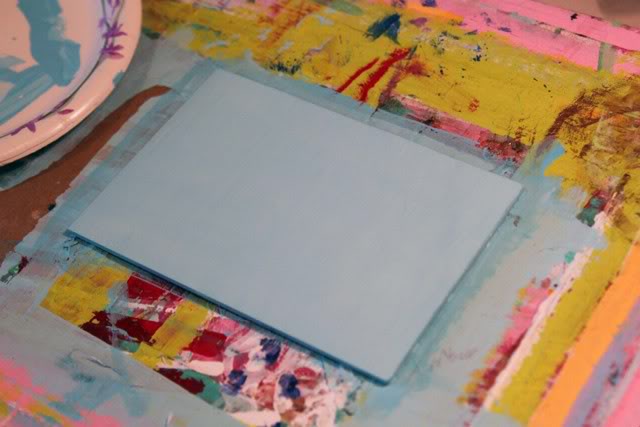
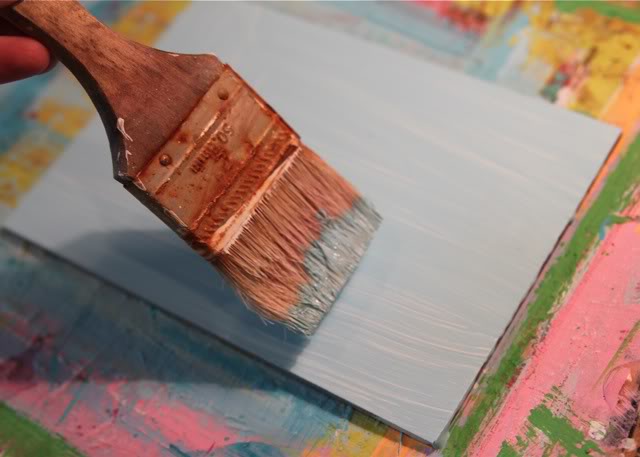
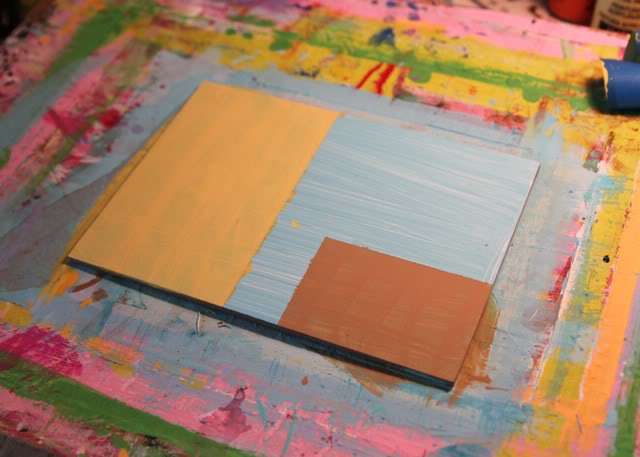
Step 1: Paint a base coat.
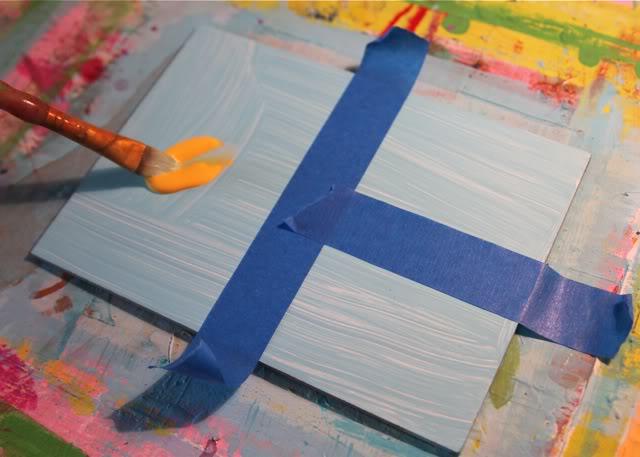
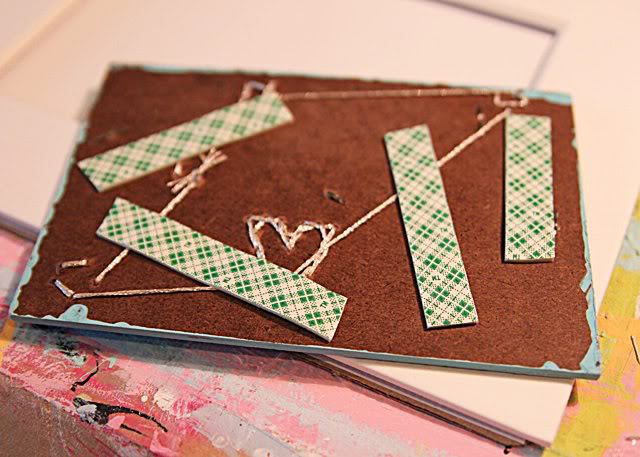
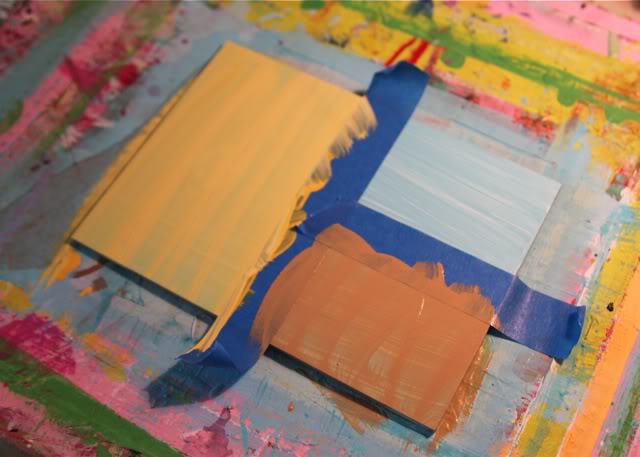
….and then added a brown block. You’ll have to paint in stages using the painters tape.

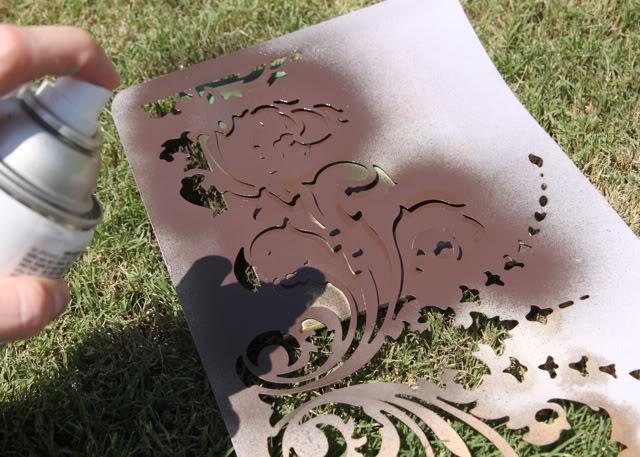
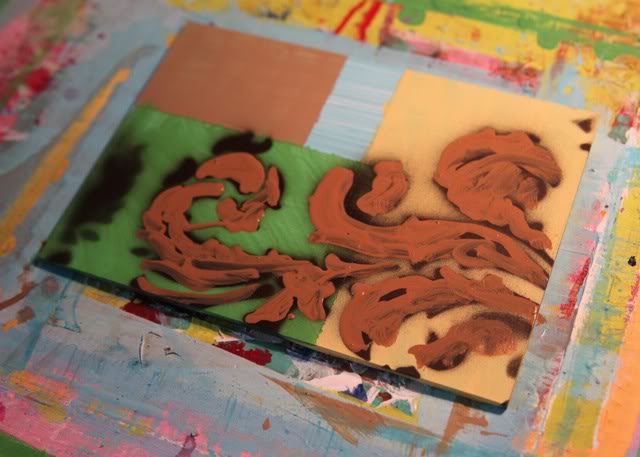
Step 3: Once all my color blocking was dry, I took the piece outside and used a wall stencil and some spray paint to cover it with a design:
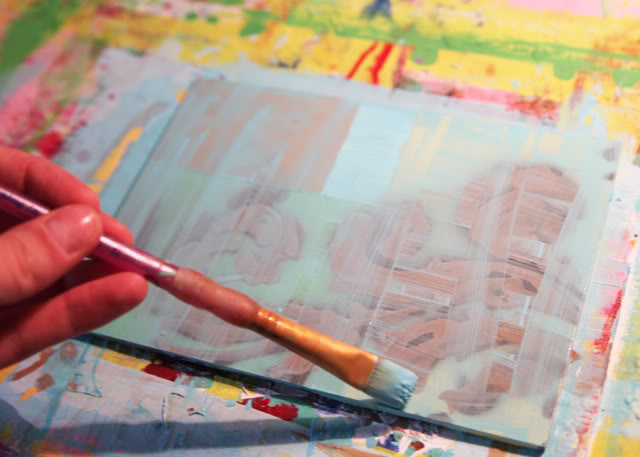
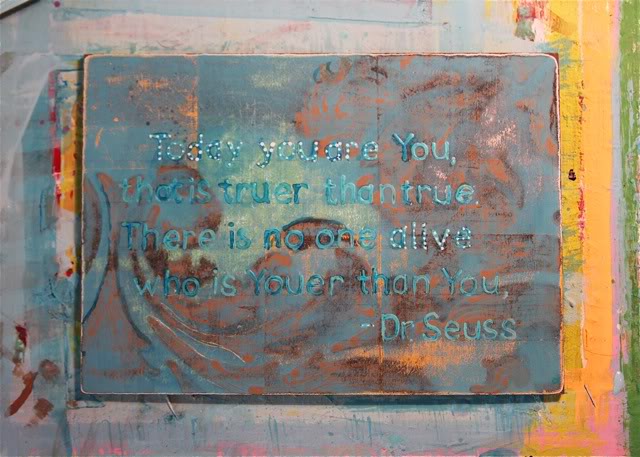
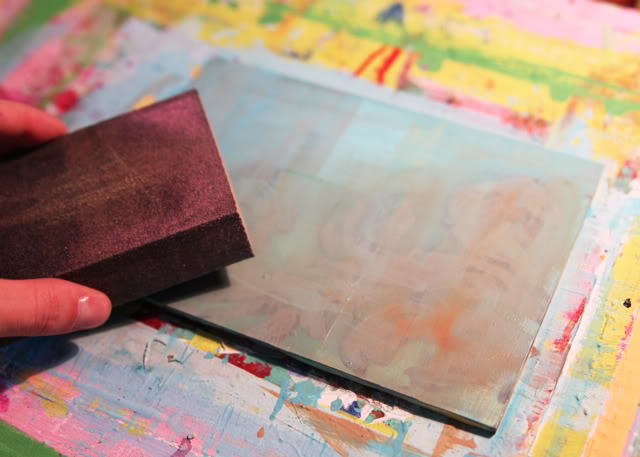
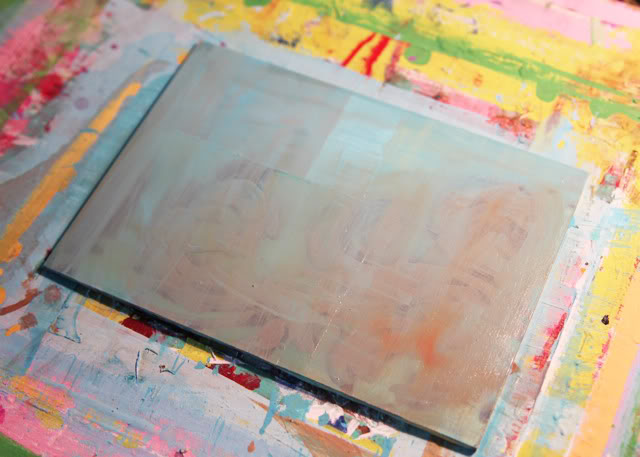
Step 6: Once the top layer was dry I took a sanding block and sanded down different layers of the painting until the previous layers began to show through.
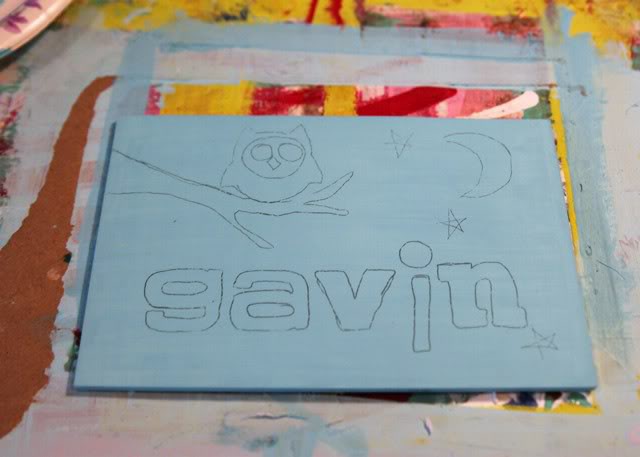
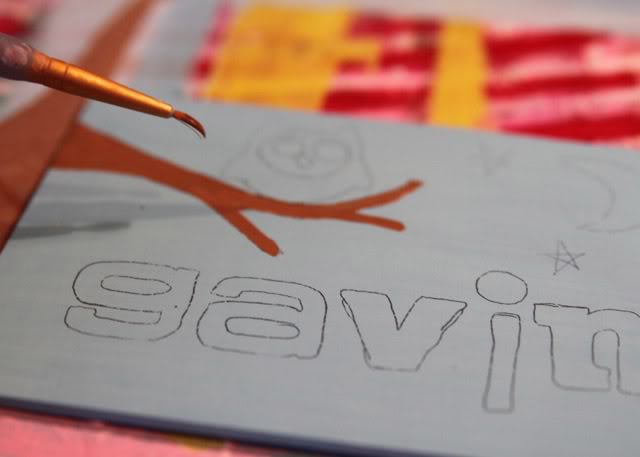
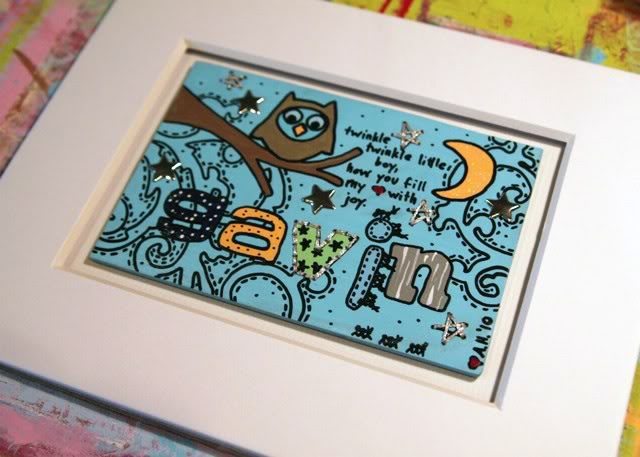
Step 7: After I have a base of a painting finished…..
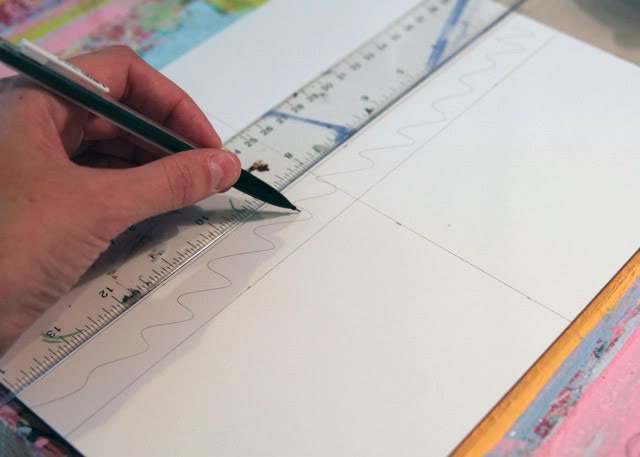
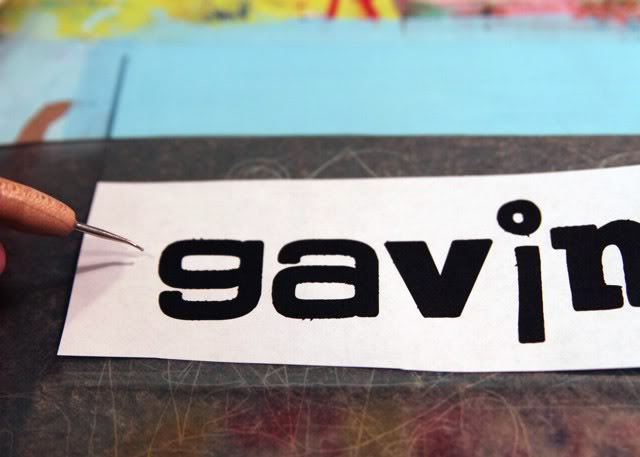
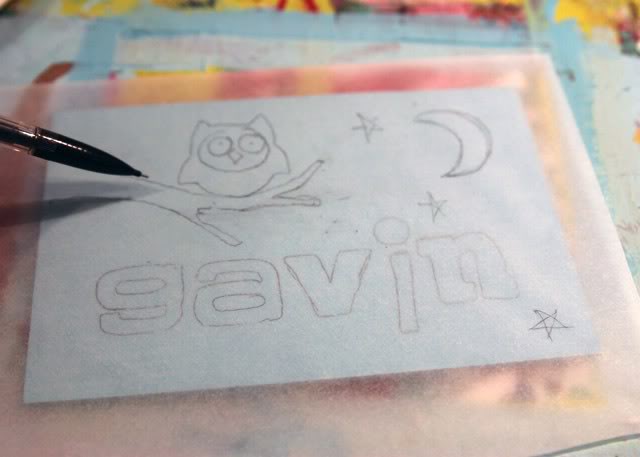
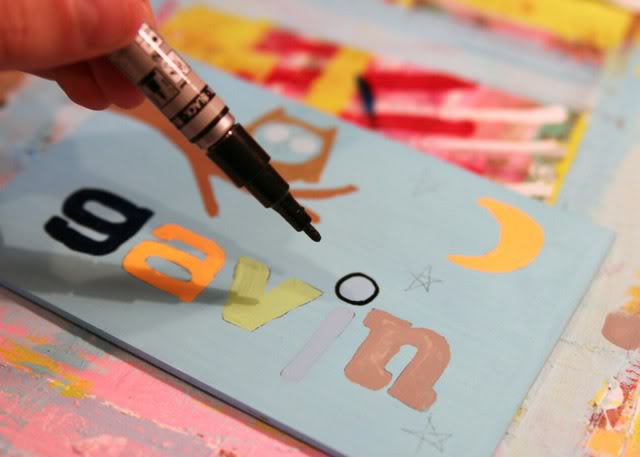
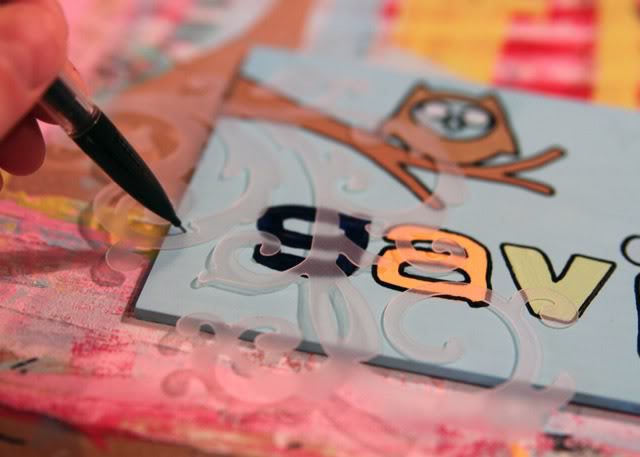
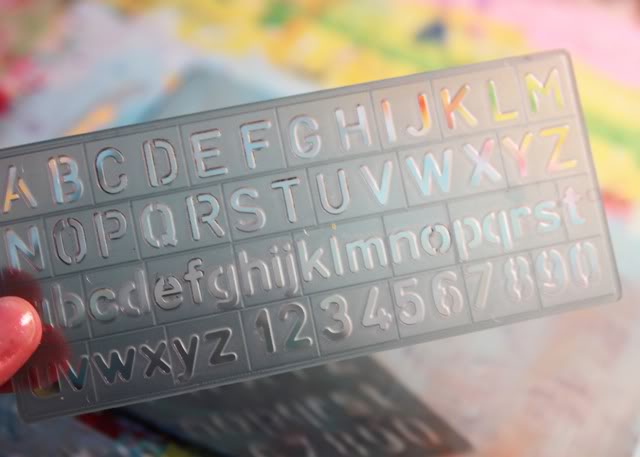
…I use a simple stencil to draw out letters with a pencil and then I paint over them carefully with a tiny brush.
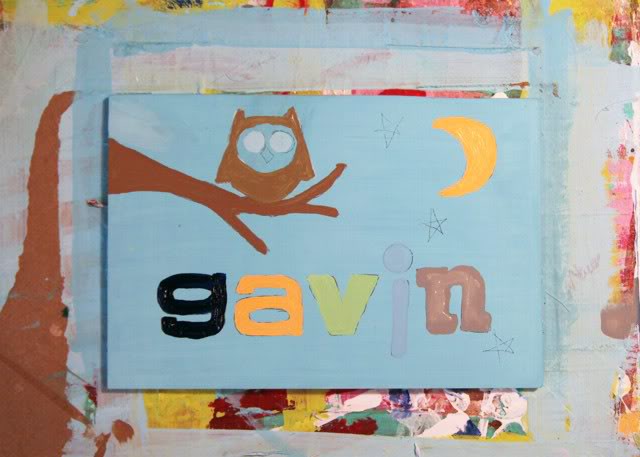
The finished lettering:
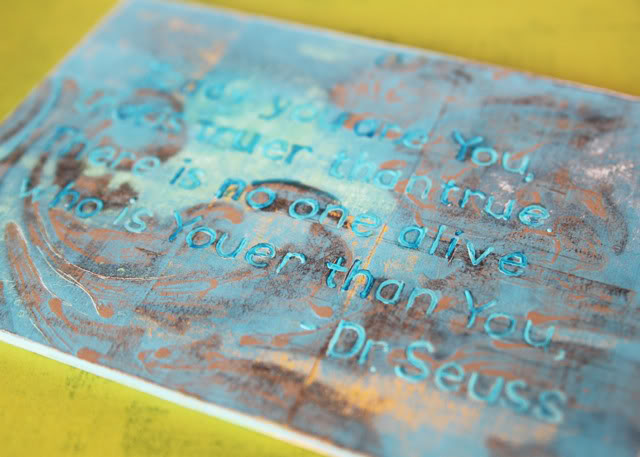
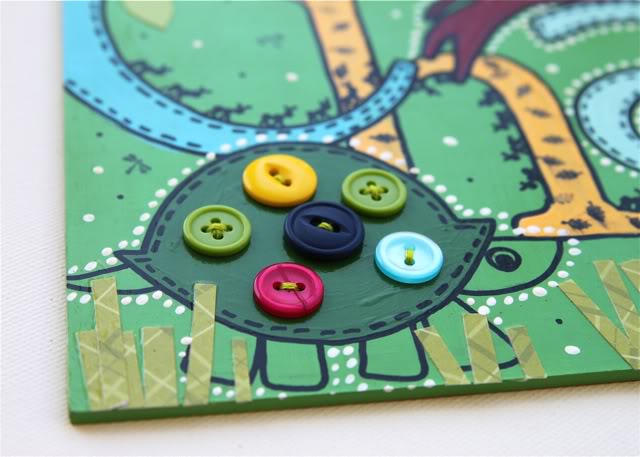
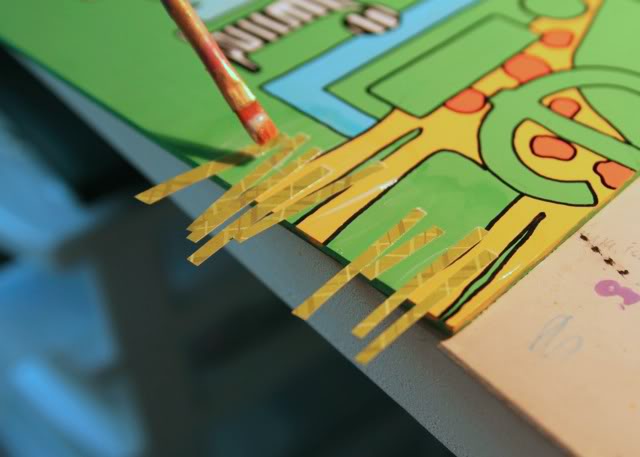
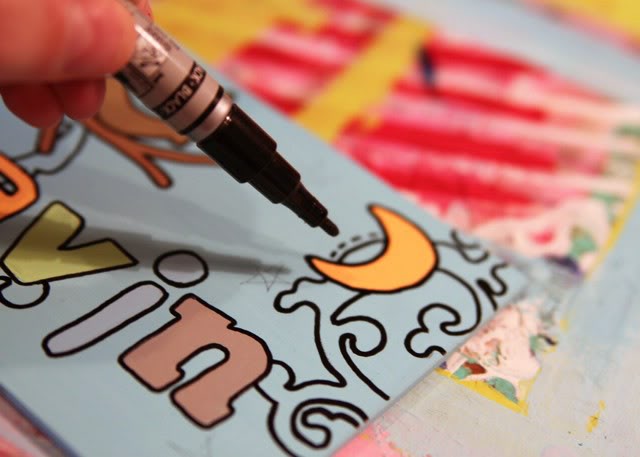
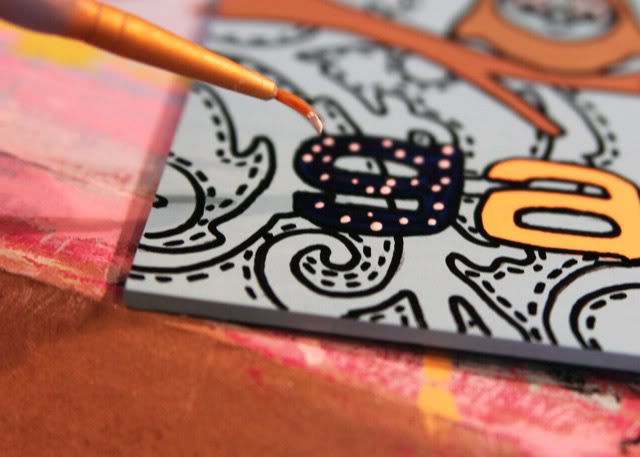
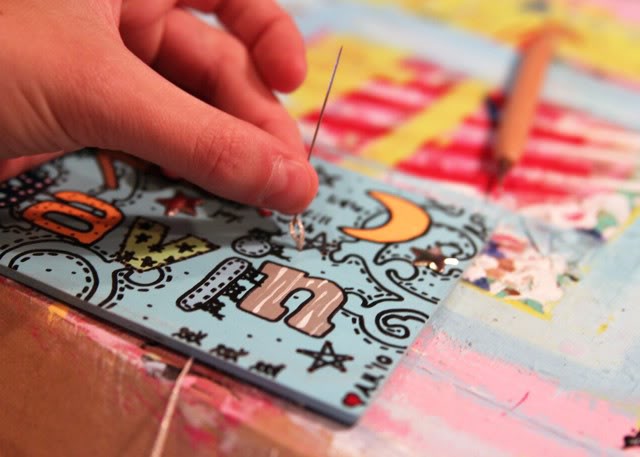
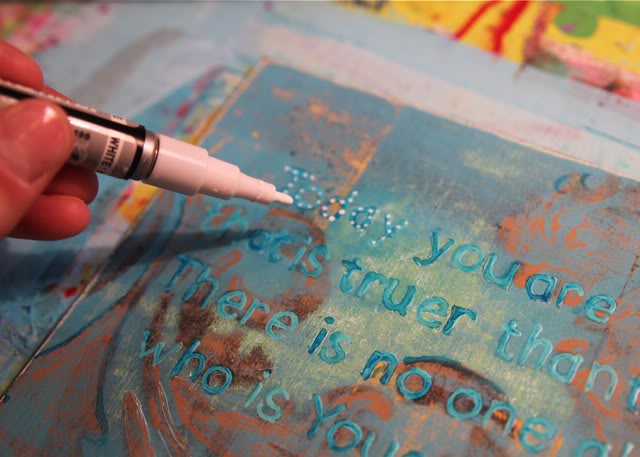
I’ll use a paint pen to add some other small details.
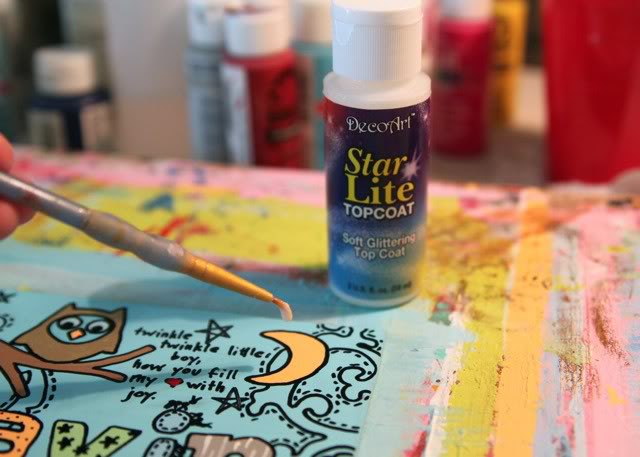
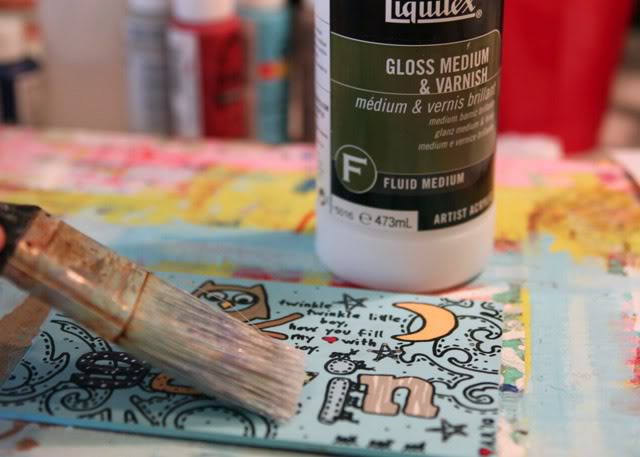
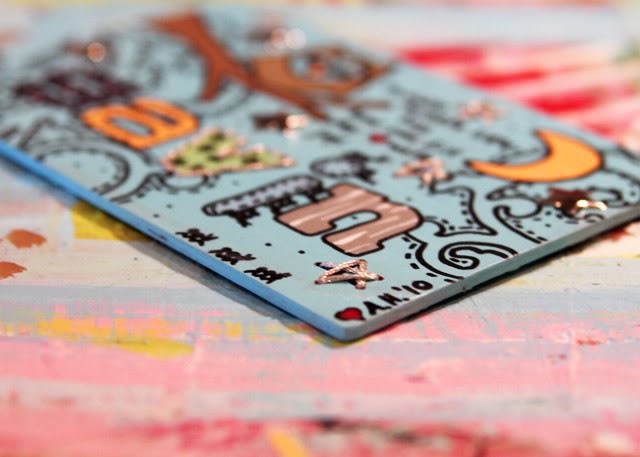
Step 8: To complete the painting I use a sanding block to distress the edges and then I coat with thin coat of water based varnish!
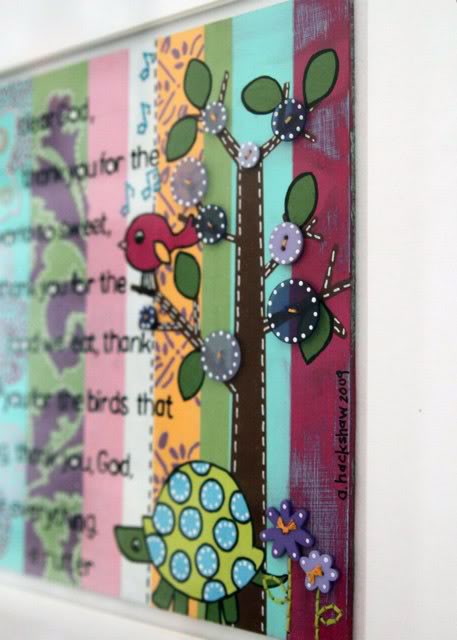
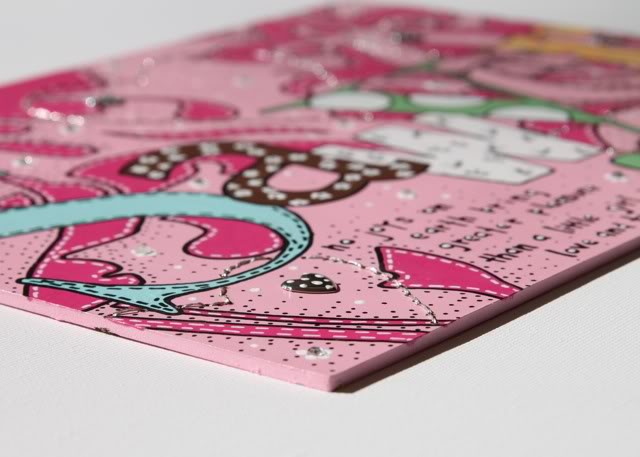
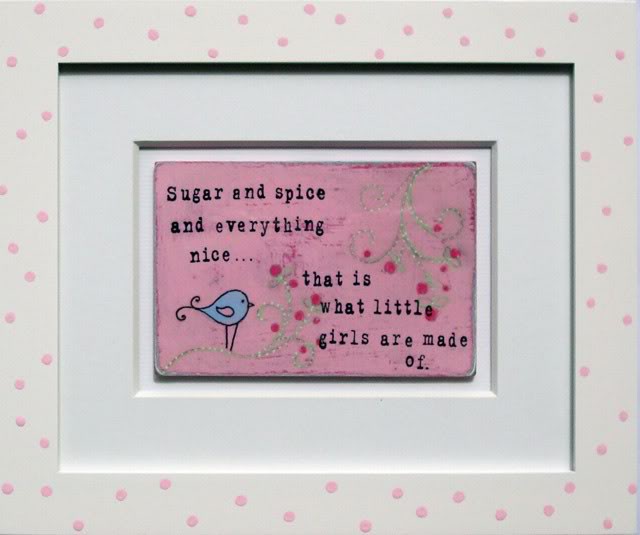
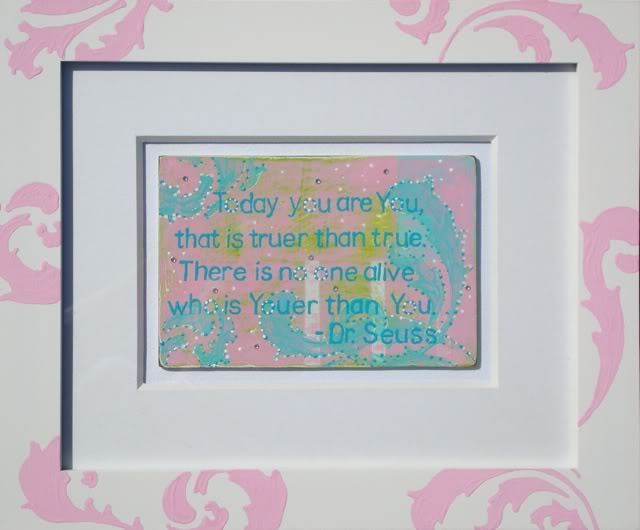
Here is a similar one I did in pink. Just change up your paint palette!

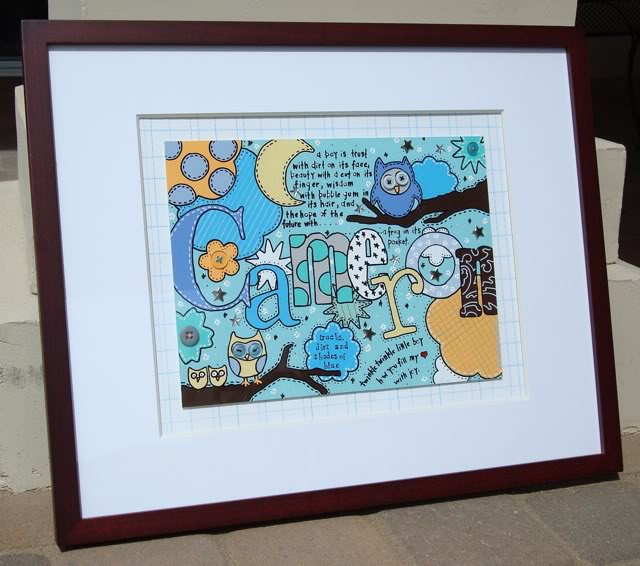
A gift they’ll treasure forever!
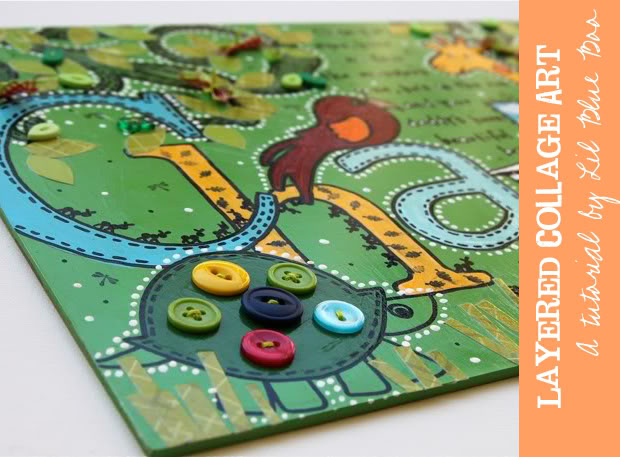
See some of my other painting tutorials for more ideas and information on materials and supplies:
 Nursery Art – Layering with Collage

 Transferring an Image with Gel Medium
 How to Fake a Landscape Painting